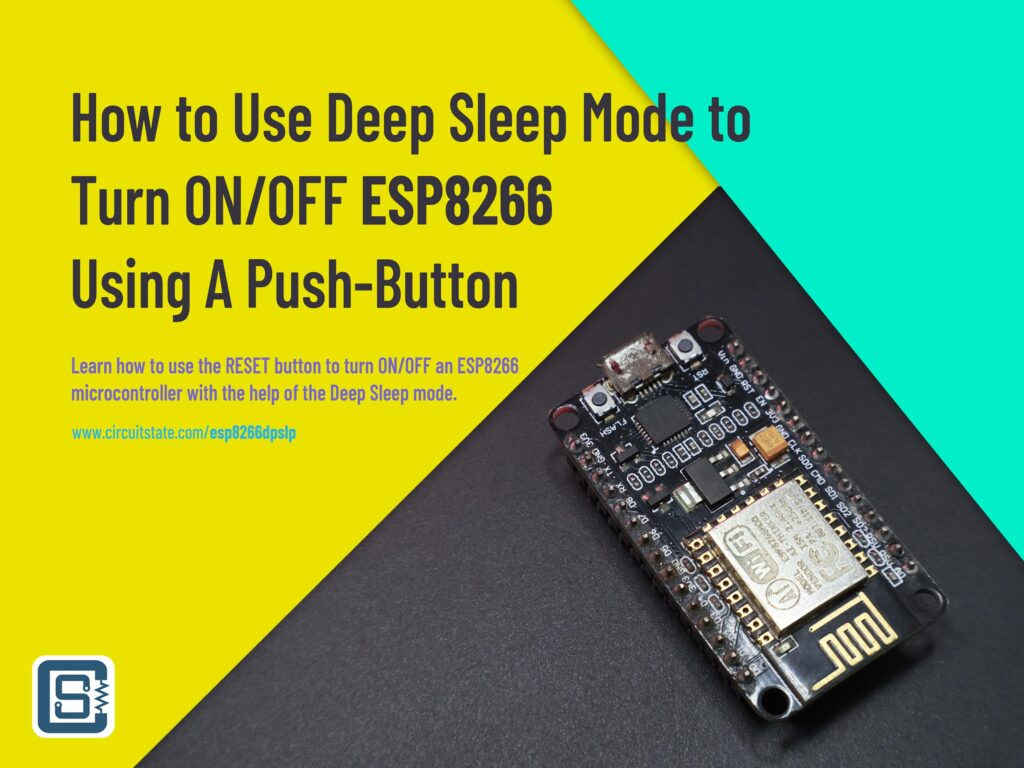
How to Use Deep Sleep Mode to Turn ON/OFF ESP8266 Microcontroller with A Push-Button
Learn how to use the RESET button to turn on and off an ESP866 microcontroller with the help of Deep Sleep mode.

The ESP8266EX (and its sibling ESP8285) is a popular Wi-Fi microcontroller from Espressif. They opened a whole new world of wireless applications to makers and engineers in the most affordable manner. Even after many years, the ESP8266 continues to remain as most accessible and cheap option to implement a Wi-Fi wireless project. In this tutorial, we want to share a small tip for building ESP8266 projects, especially battery powered ones. The tip we are going to share here will help you to turn ON/OFF your microcontroller with nothing but the RESET button. When in the off state, the microcontroller will only consume around 20uA of current, which saves precious battery power.
Deep Sleep
Sleep mode is a feature most of the modern microcontrollers. It allows the microcontroller to shut down the CPU and other peripherals to conserve power. Sleep mode is different from a power off state in that the MCU can be “woken up” by a trigger. Most battery powered MCU system implement some type of power down or sleep mode. The ESP8266 also supports a few sleep modes which are listed in the below.
| Power Mode | Description | Power Consumption |
|---|---|---|
| Active Mode | CPU, Radio and Peripheral working. | Up to 170 + 15 mA |
| Modem Sleep | CPU and Peripherals working. Radio is not working. | 15 mA |
| Light Sleep | The CPU and all peripherals are paused. Any wake-up events (MAC, host, RTC timer, or external interrupts) will wake up the chip. | 0.9 mA |
| Deep Sleep | Only the RTC is operational and all other part of the chip are powered off. | 20 uA |
| Shut Down | Everything is off. | 0.5 uA |
Even though the Shut Down mode is the best of all modes for conserving power, it is not known how to use that mode. The official documentation does not mention about it. So the best we can do is to use the Deep Sleep mode. In this mode, the low-power RTC core will be running with a consumption of 20 uA which is extremely low for a microcontroller. We can safely put the MCU in this mode and wake it up using multiple methods.
When the MCU is in Deep Sleep mode, it can only be waken up through an external interrupt and the CPU will start to execute the main code from the start.
Code
If you are designing a battery-powered ESP8266 project and needs a simple way to turn ON/OFF the system instead of a typical SPST switch, we can use the Deep Sleep feature of the ESP8266 to achieve that. We will use the RESET button of ESP8266 to determine when to turn on and when to turn off the microcontroller. We can determine the wake up cause using the API ESP.getResetReason() that is available in the Arduino core for ESP8266. Try uploading the following code to any ESP8266 board that has a RESET button and a USB-serial chip. We are using the NodeMCU-ESP8266 board here.
#include <Arduino.h>

void setup();
void loop();

void setup() {
  Serial.begin (115200);
  delay (1000);
  Serial.println();
  Serial.println (ESP.getResetReason());
}

void loop() {
  delay (5000);
  Serial.println ("Entering deep sleep..");
  ESP.deepSleep (0);
}In the setup() function, we used the ESP.getResetReason() to print the reason for the last reboot. If the ESP is reset normally (without being in sleep mode), the function returns the string External System and it is printed to the serial monitor. But if the ESP is woken from a deep sleep state, the function returns Deep-Sleep Wake instead.
In the loop(), we enter the deep sleep mode after 5 seconds. If we press the RESET button before the deep sleep, we will get the reset reason as External System. But if we press the RESET button only after entering the deep sleep mode, we will get the reset reason Deep-Sleep Wake.
As you can see, entering the Deep Sleep mode is simple as calling the deepSleep() function. We can now take advantage of the API to turn ON/OFF of a project. When we say turning on/off a system, the idea is to not use any power in the off state and run as normal in the on state. And that is exactly what we are going to do here. We can achieve that using the following logic.
- If the system is woken up by
External System, then we can assume that the user wants to turn off the ESP8266. In that case, we will simply put the system to deep sleep after a timeout. - If the system is woken up by
Deep-Sleep Wake, then we can assume that the user wants to turn on the system. Then we disable the sleep mode and the system remains in normal operating mode until the user presses the RESET button again.
The following code implements that logic.
#include <Arduino.h>

void setup();
void loop();

bool toSleep = false;
String resetReason;

void setup() {
  Serial.begin (115200);
  delay (1000);
  Serial.println();
  resetReason = ESP.getResetReason();
  Serial.println ("Reset reason: " + resetReason);

  if (resetReason == "Deep-Sleep Wake") {
    toSleep = false;
  }
  else if (resetReason == "External System") {
    toSleep = true;
  }
}

void loop() {
  if (!toSleep) {
    delay (1000);
    Serial.println ("System is up");
  }
  else {
    delay (1000);
    Serial.println ("System is going to sleep..");
    ESP.deepSleep (0);
  }
}There are two global variables used here. toSleep is a flag that controls if the system go to Deep Sleep mode or not. When it is true, the system will go to sleep mode, conserving power. When the value is false, the system can remain in the normal operating mode, doing useful tasks. resetReason is a string where we can store the reset reason printed by ESP8266.
The setup() function starts by initializing the default serial port with a 115200 baudrate. There is a delay of 1 second to allow the microcontroller to print any debug information before we start doing anything. After that we can get the reset reason using the API and print it to the serial monitor. In the next step, we can check the reset reason and determine whether to put the system into sleep mode or not. We just have to set the toSleep variable to do that.
The next process happens in the loop() function. The first thing is to check the state of toSleep flag. If it is false, we can continue the normal operation. The microcontroller prints “System is up” message periodically in this mode. You can add an infinite loop just after this line, to run any of the normal tasks that you would normally add inside the loop() function.
If the value of the toSleep flag was true, instead of running in the normal code, the system will go to the power saving Deep Sleep mode after a small delay. The delay is arbitrary and you can set it to anything. Using this simple functionality, we can turn ON/OFF any ESP8266-based system with a single press of the RESET button. We recently used this technique in one of our clients’ project and found to be working reliably. Since we wanted to keep the overall system complexity to a minimum but with maintaining a good user experience, the push-button controlled power on/off was an effective solution.
Following is the output from the serial monitor. The ESP8266 will print long boot message when starting up. It has been removed for the sake of clarity. You can see how system detects the state after pressing the RESET button each time. The message “System is up” will be printed periodically when the microcontroller is working as normal. This indicates a normal operation. When the system is sleeping, it will not print anything to the serial monitor.
Reset reason: External System
System is going to sleep..
<Debug Message>
Reset reason: Deep-Sleep Wake
System is up
System is up
System is upLinks
- ESP8266EX Datasheet [PDF]
- ESP8266 – Low Power Solutions [PDF]
- ESP8266 (ESP-12F) deep sleep and light sleep with Arduino – Kevin Stadler
Short Link
- A short URL to this page – https://www.circuitstate.com/esp8266dpslp


