Noel 230V/90W Digital Temperature Controlled Soldering Iron Review & Teardown
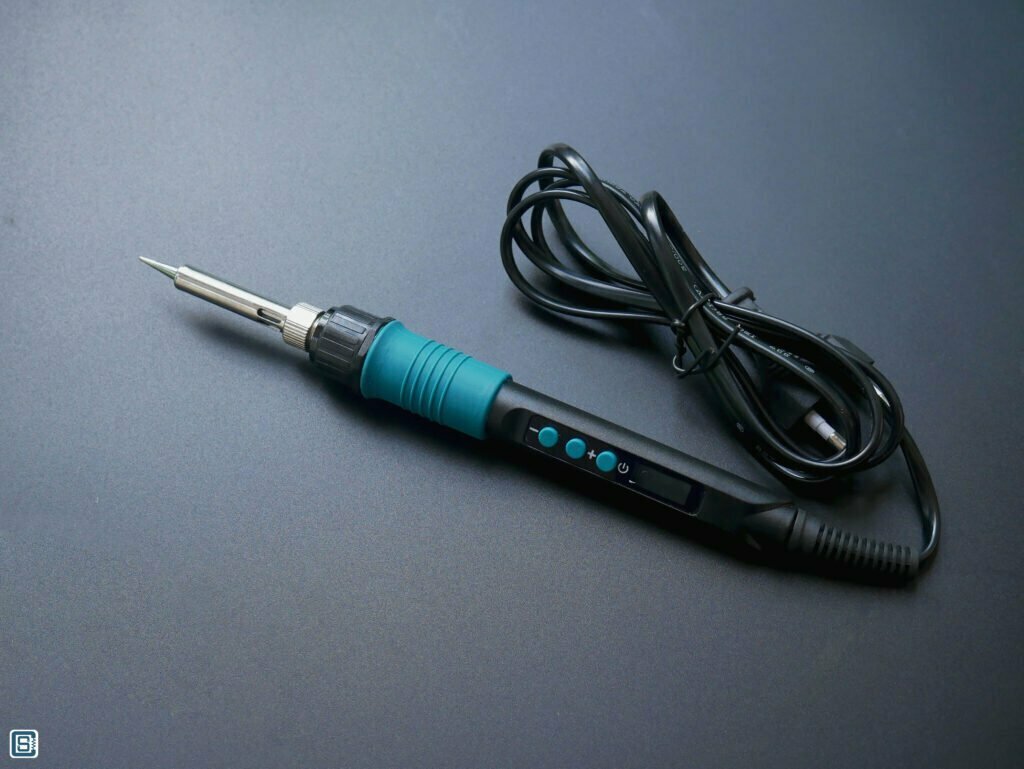
Review and teardown of Noel India 90W/230V digital temperature-controlled soldering iron. It is a Hakko 900M series compatible iron with removable tips, heating element and a backlit LCD display.

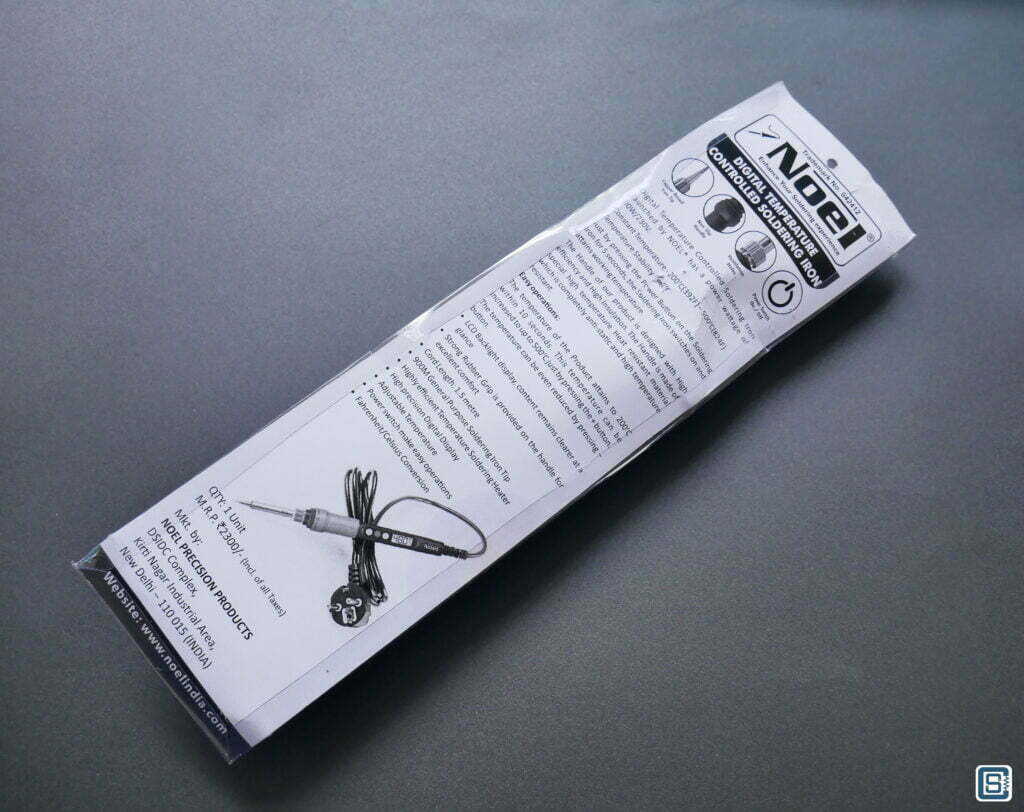
Noel is an Indian brand of soldering tools and materials. Their products include soldering irons, soldering stations, solder wires of different grades, and flux. We recently bought their 90W Digital Temperature Controlled soldering iron and today we will review it and determine whether it delivers the specified performance for a digital soldering iron. We purchased this product from the Noel India website for ₹1173. Let’s start with the specifications.
Specifications
- Operating Voltage: 230 VAC
- Power Rating: 90W
- Bit Type: Hakko 900M Series
- Heating Element: Ceramic with two pins
- Temperature Range: 200 to 500°C
- Temperature Stability: ±5°C
- Cord Length: 1.5m
- Weight: 180g
Features
- 3 digit blue backlit black LCD display
- Soft rubber grip for handling comfort
- Fahrenheit/Celsius conversion
- Three soft push-buttons for changing temperature and turning the iron ON/OFF
- Manual temperature calibration function
- Temperature value retention after power cycle
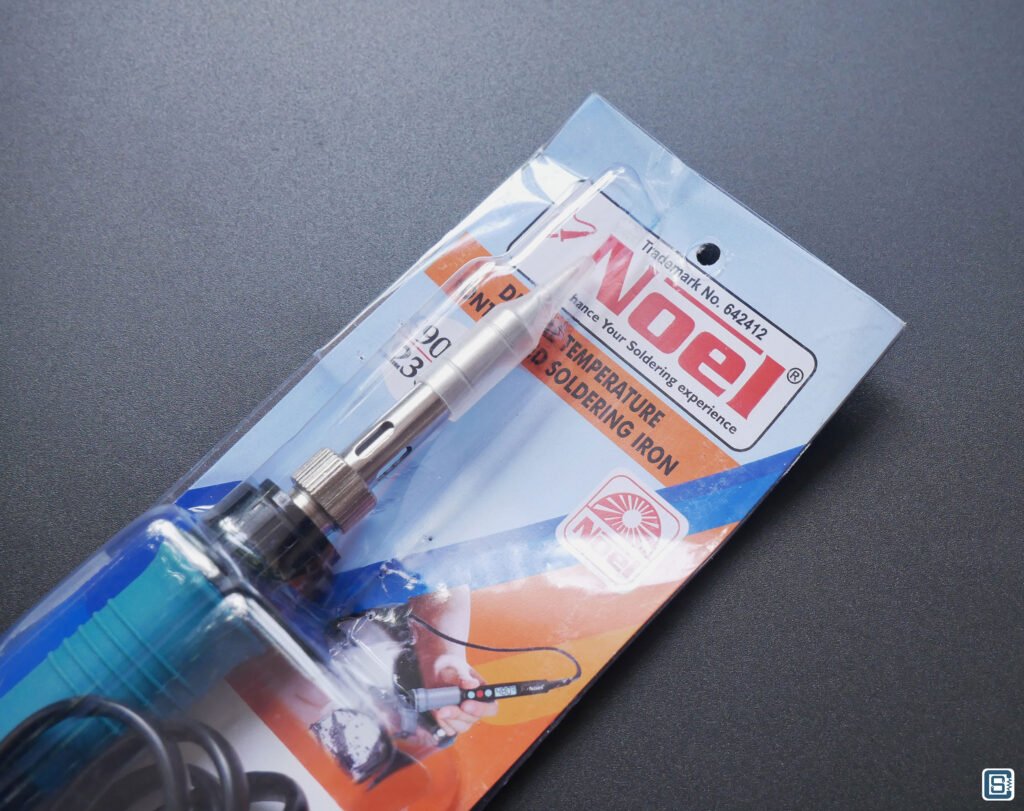
In the Package
- 1 x Soldering Iron with a rounded tip
- 1 x Plastic Cap for the tip
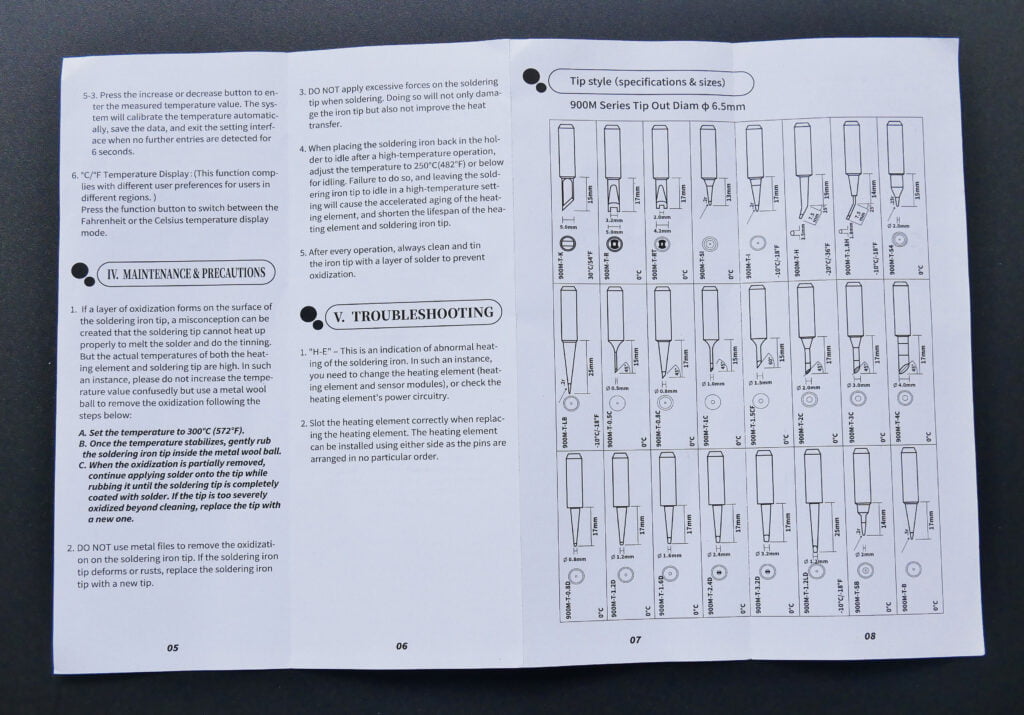
- 1 x Instruction Manual


Build Quality
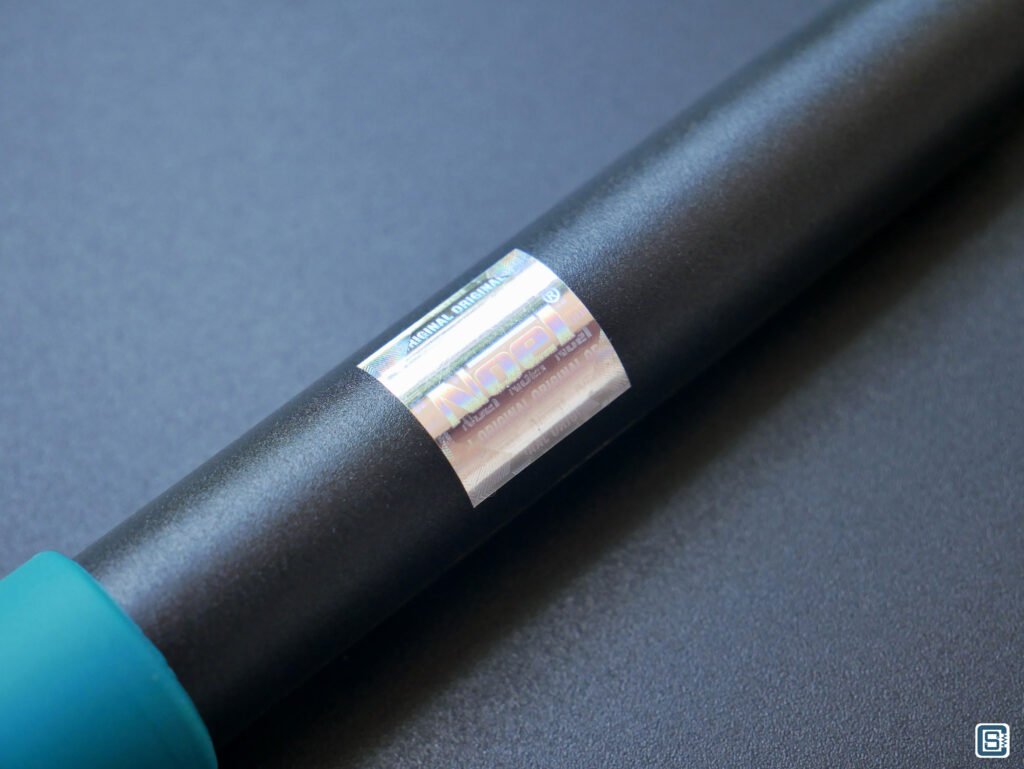
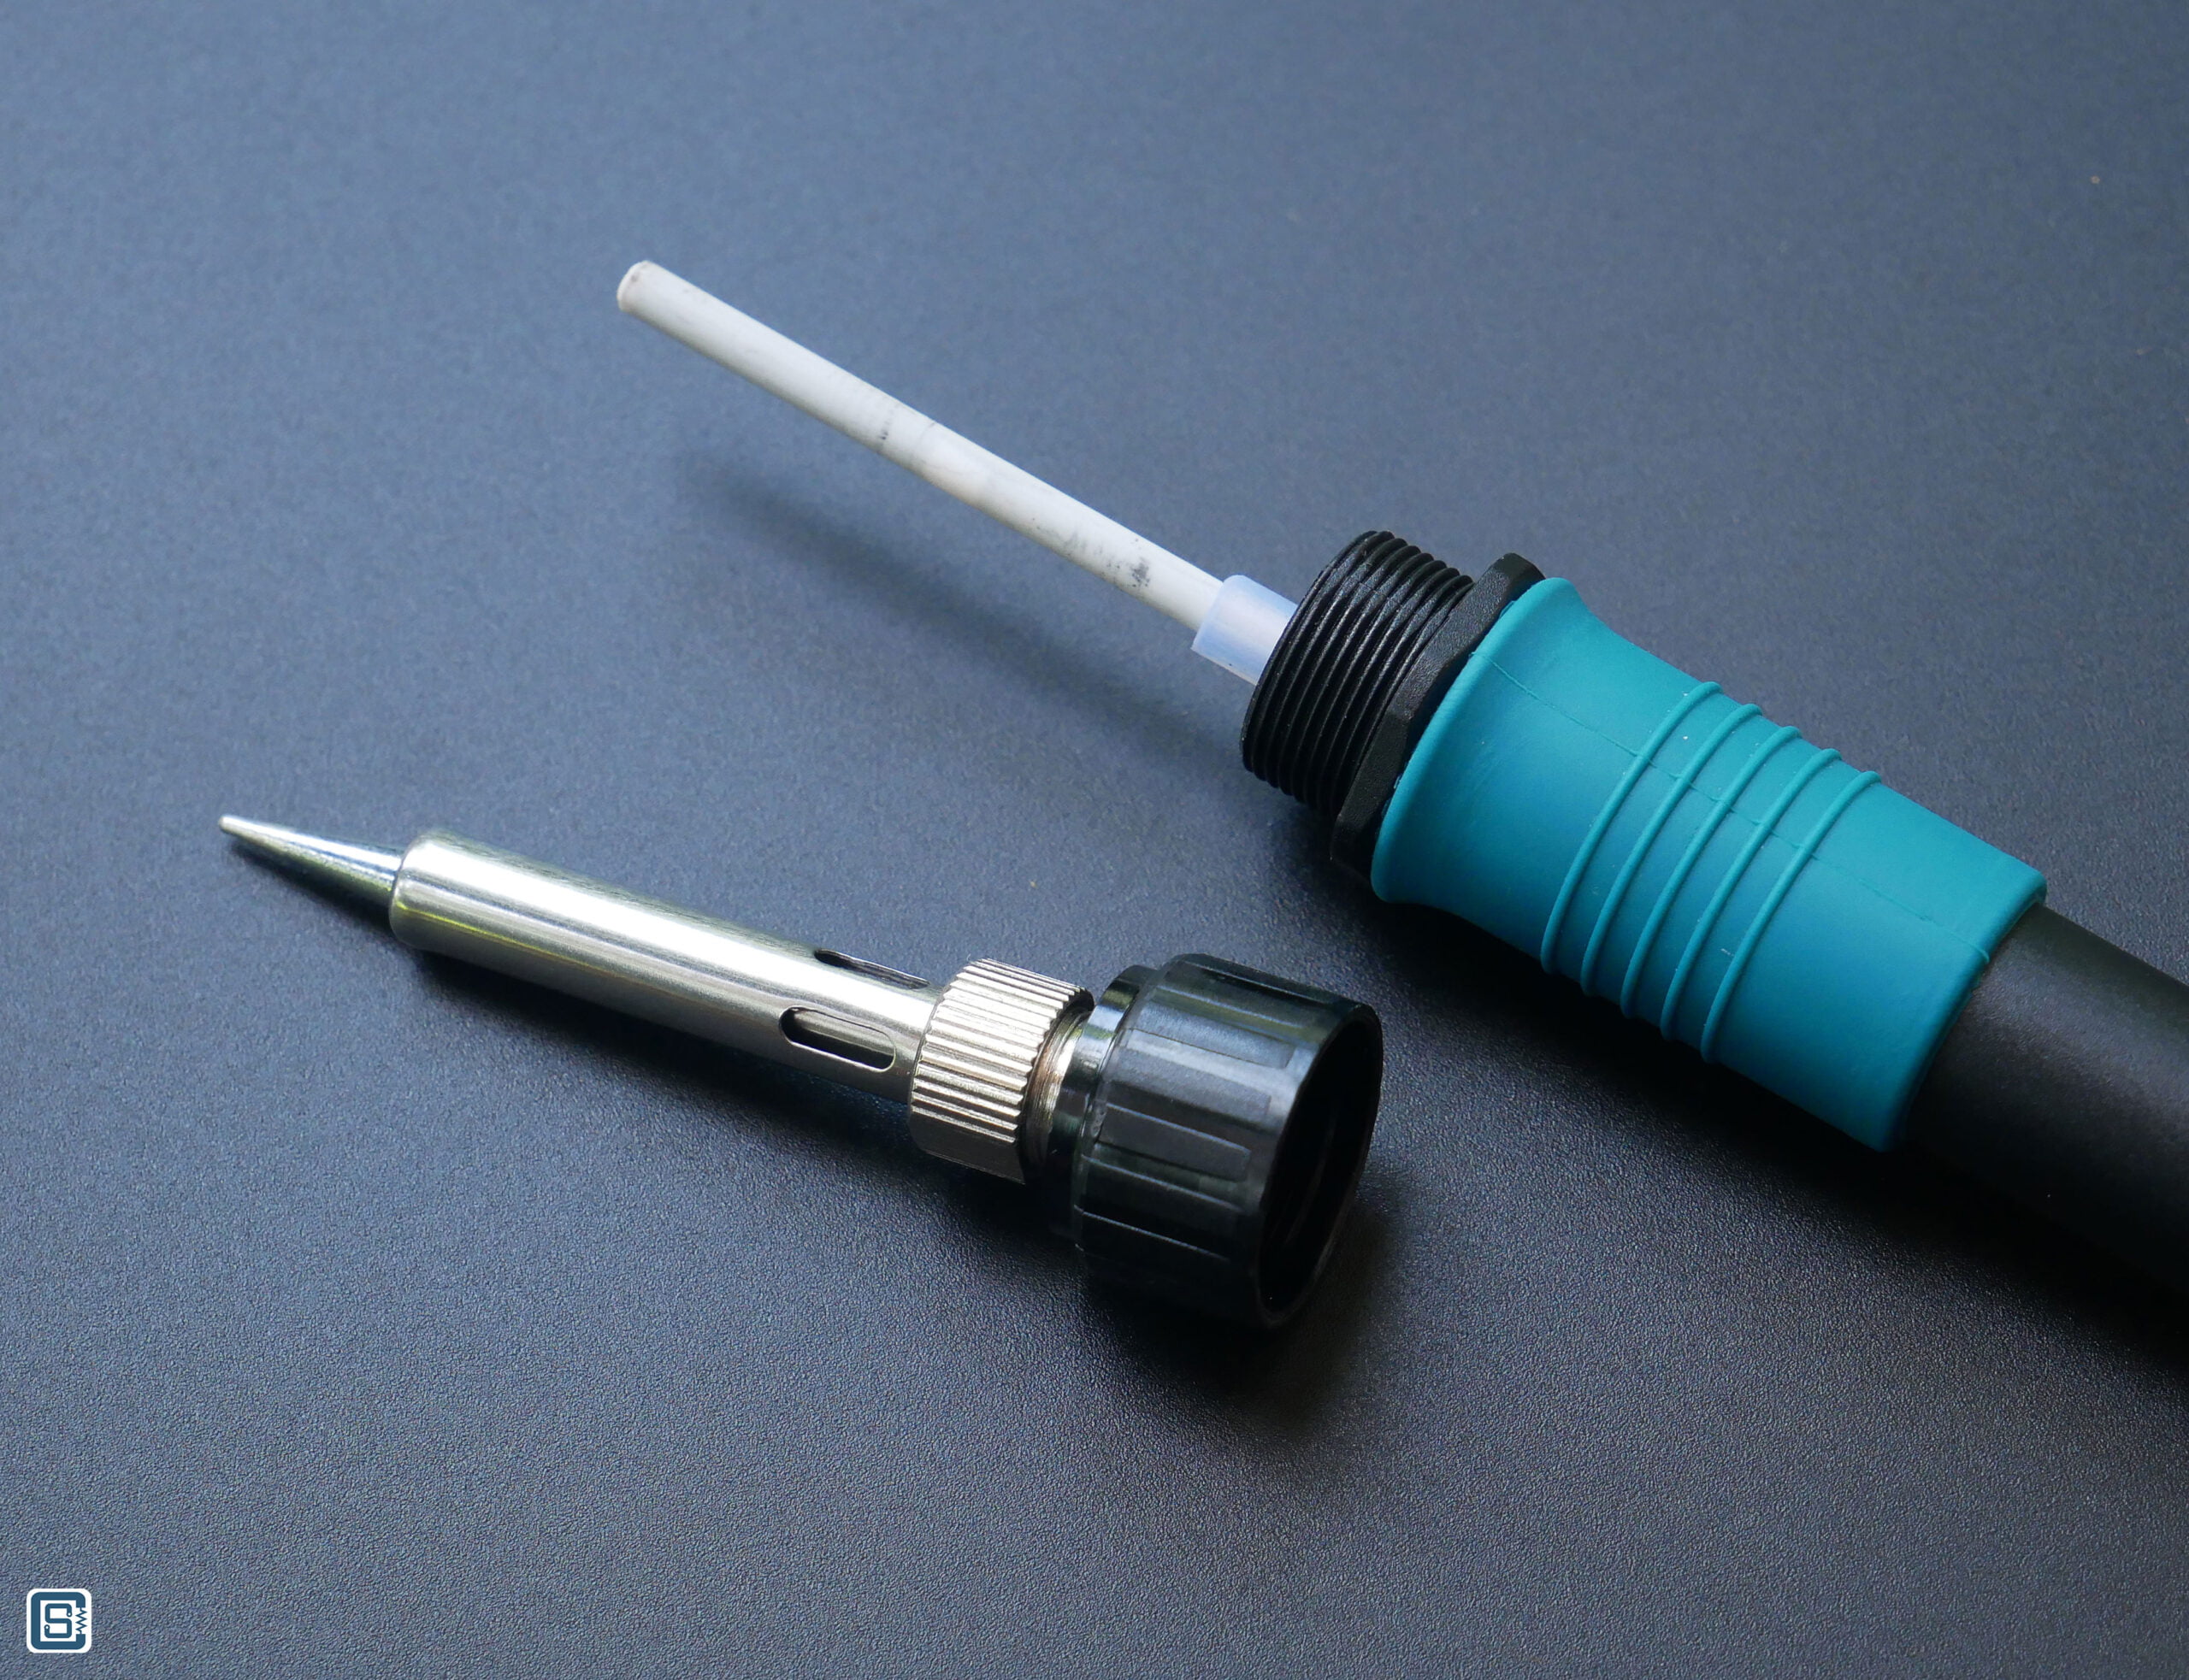
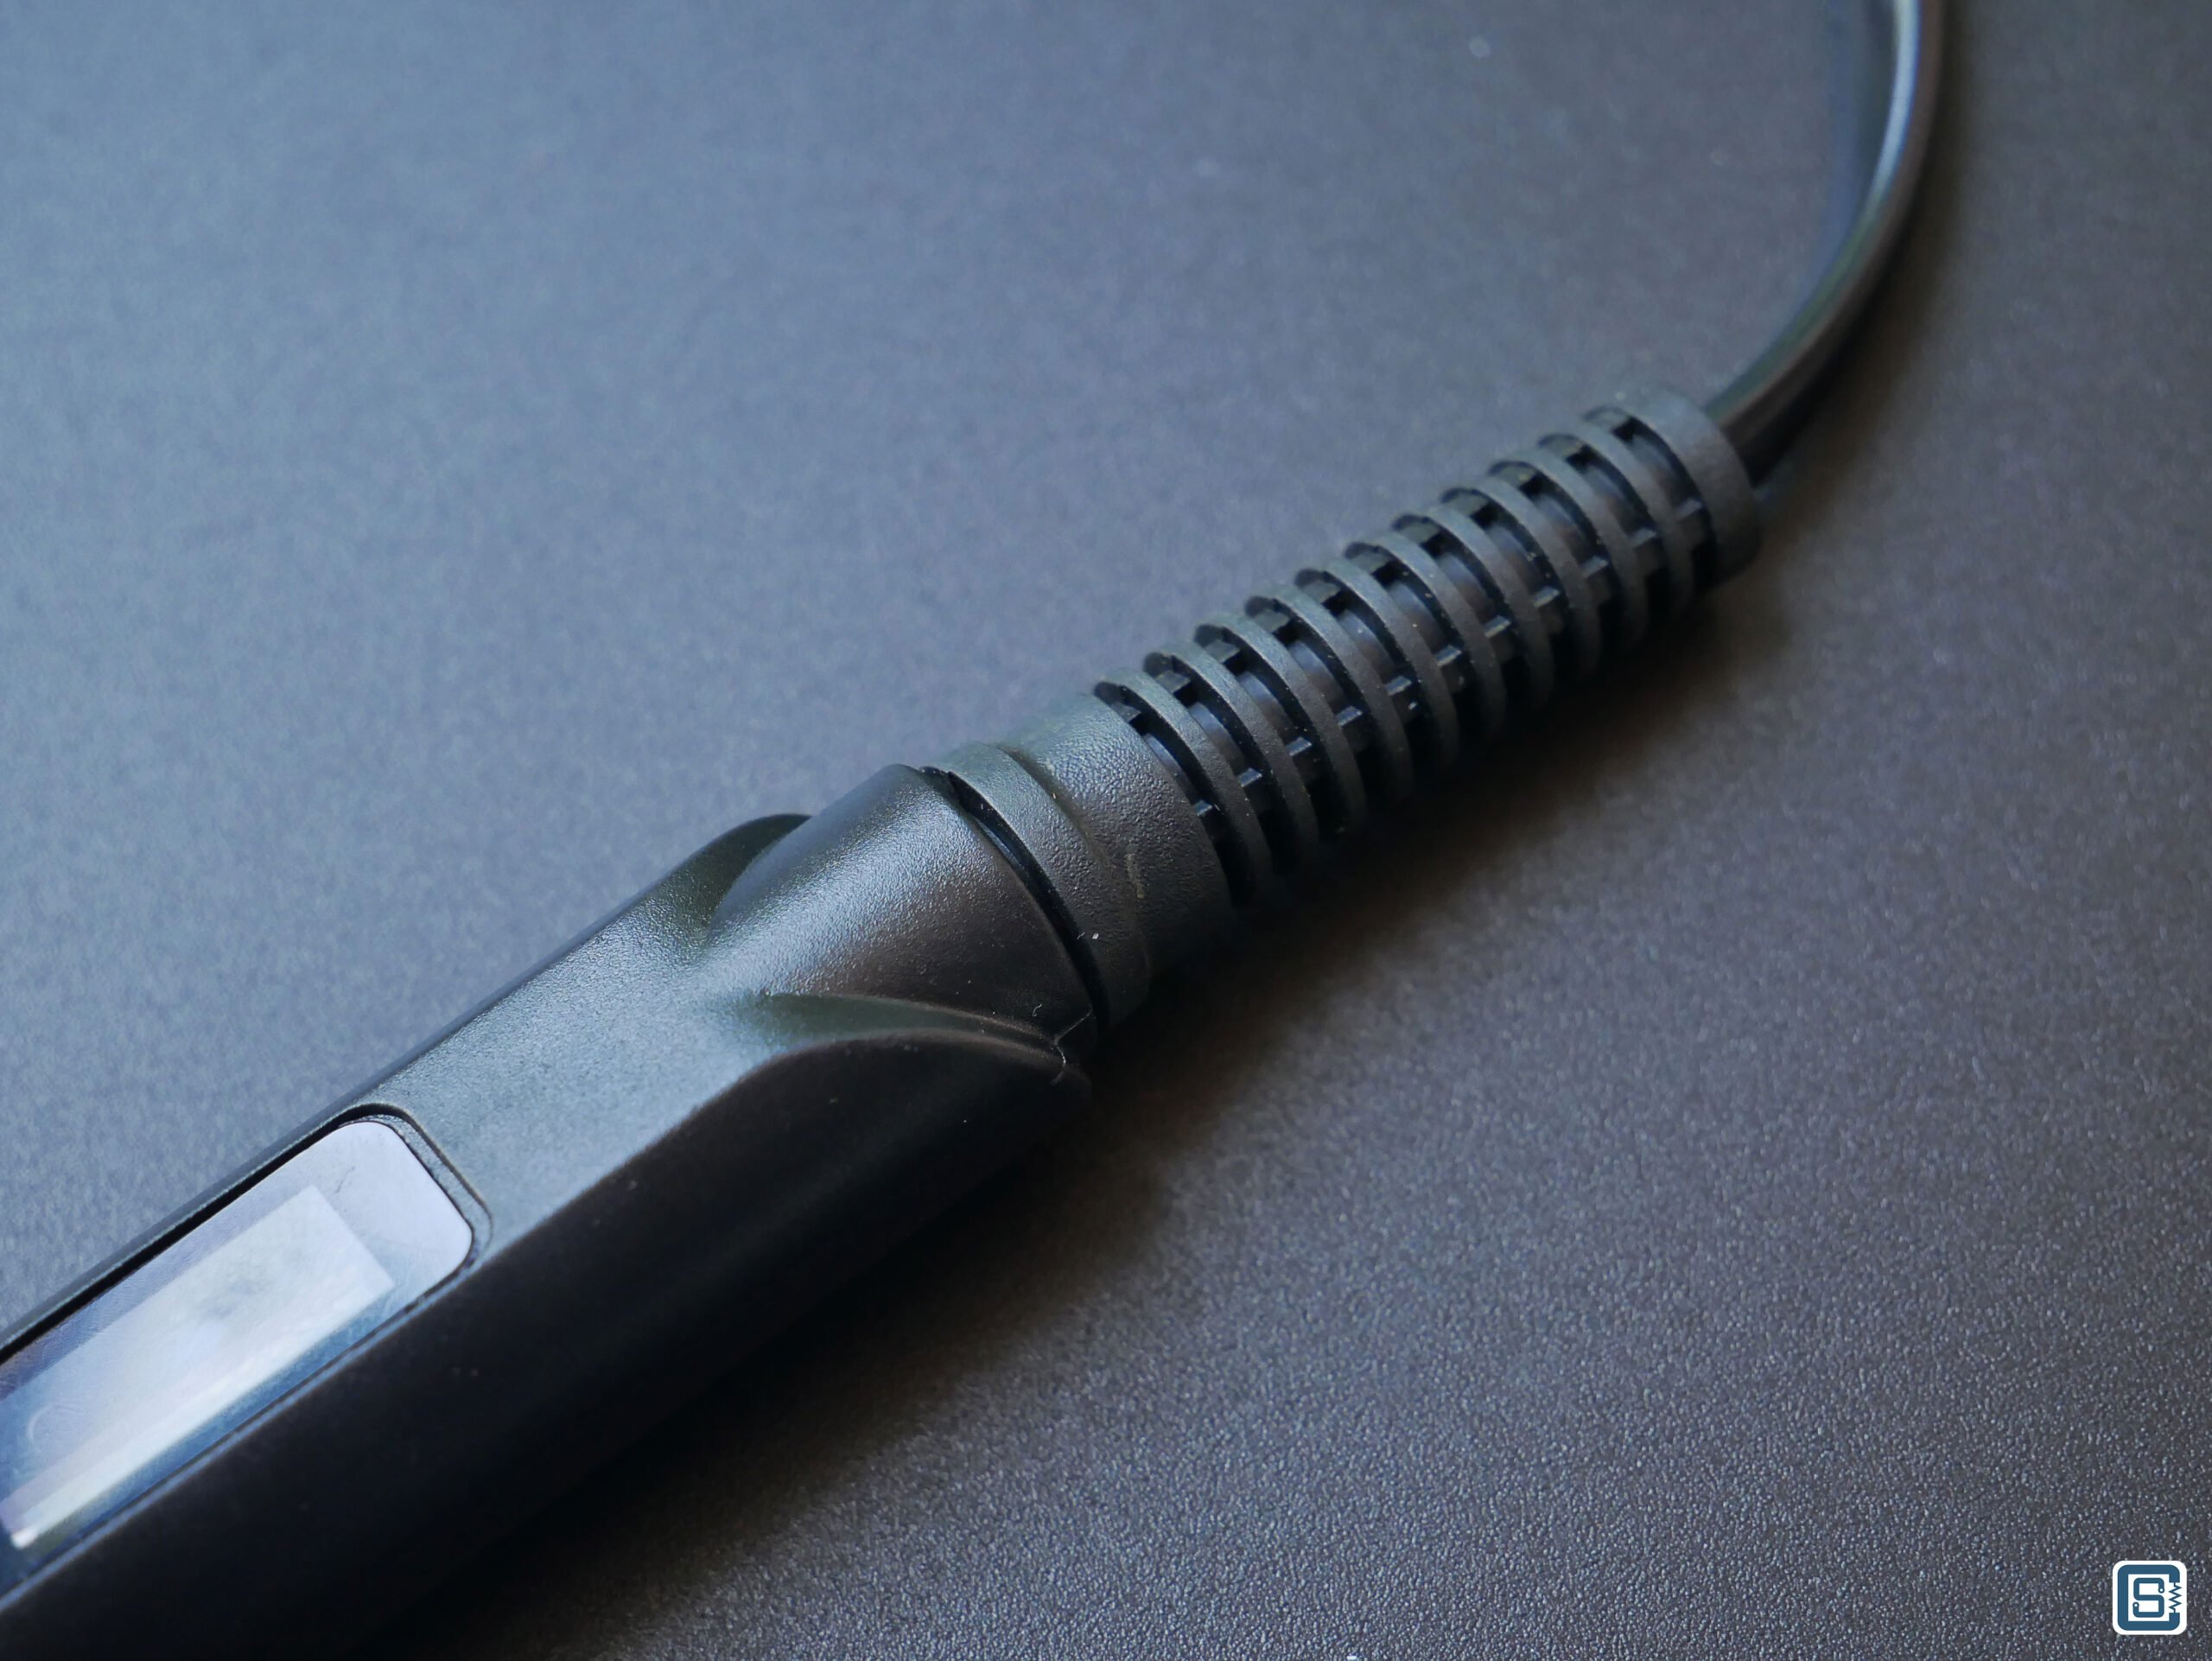
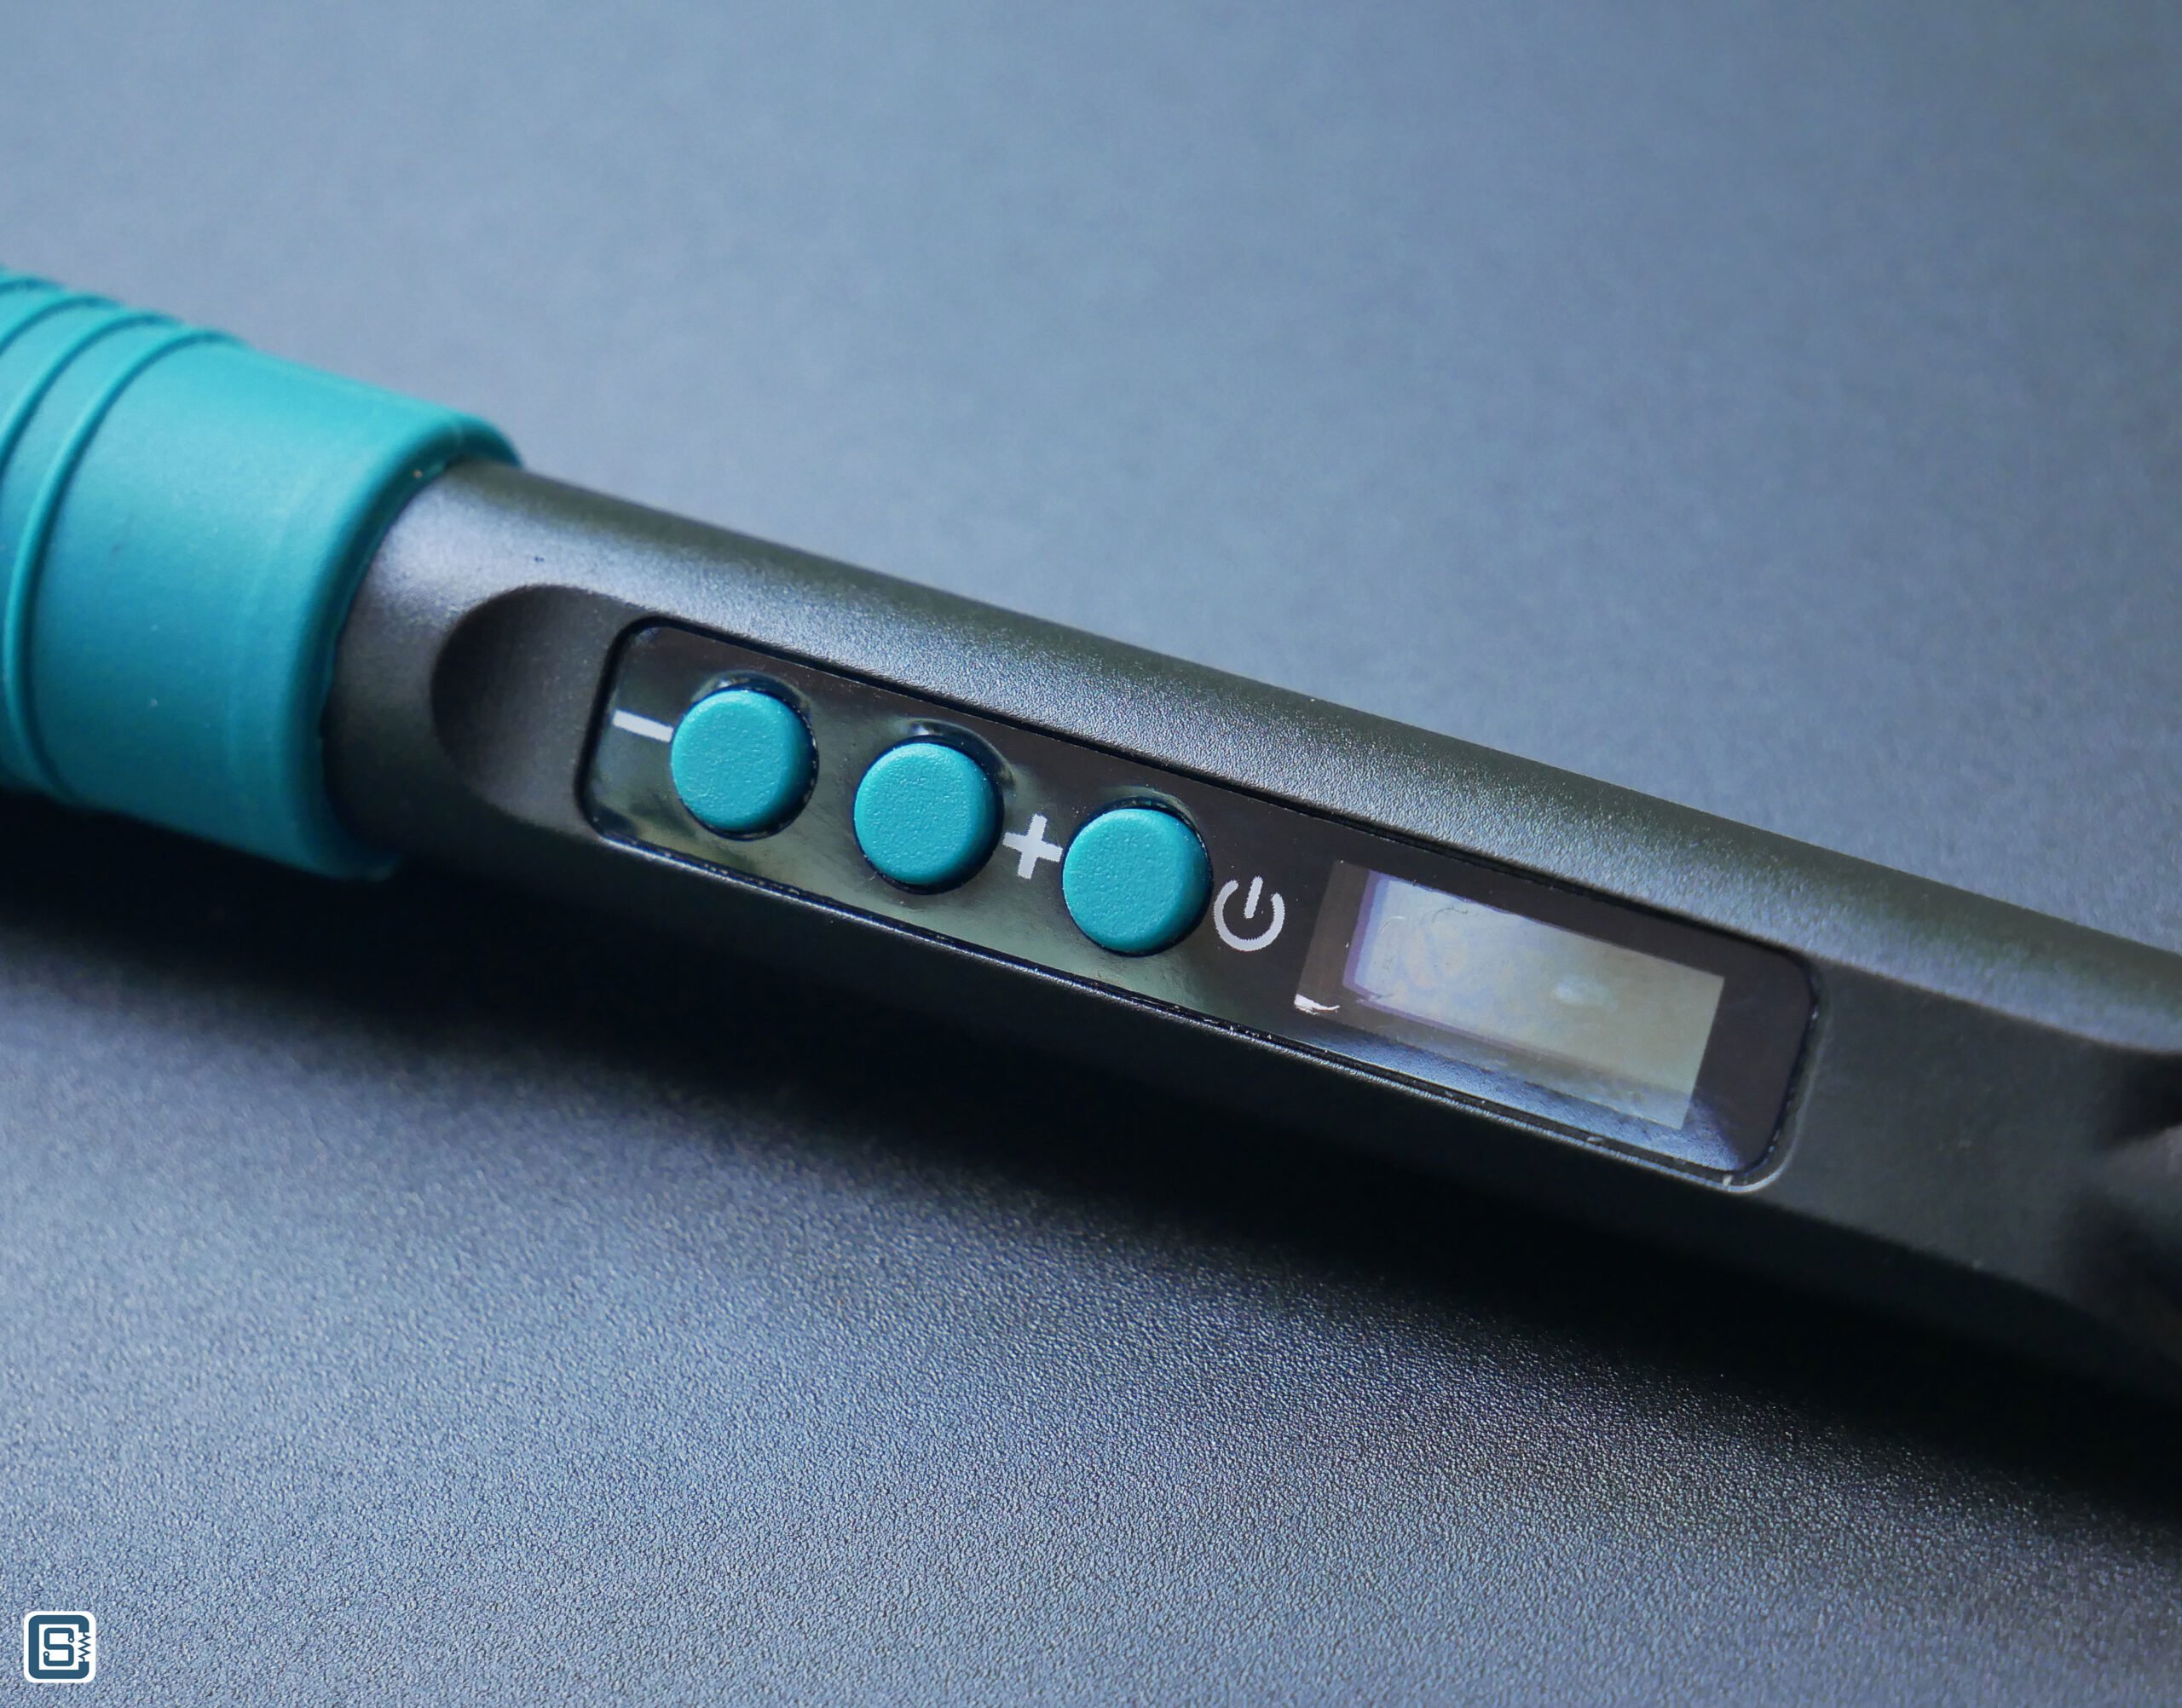
The build quality is very good for what you pay for. The body is made of Nylon plastic that can withstand high temperatures. Some amount of heat will reach the plastic body where you will hold the iron. So good quality plastic is required so that it won’t deform or in the worst case, melt during use. The top section is attached to the bottom section with the help of threaded ends. The fit and finish of this part are excellent. The rubber grip (it could be Silicone) is also firmly placed and comfortable to hold. The three push-buttons are also made from the same kind of material used for the grip. They are soft to press and adequately raised from the surface. At the end of the iron, the cable is attached to the body with the help of a strain-relief gland. The two-core cable is 1.5m in length and is very flexible. Overall the Noel 90W iron has an excellent build quality in terms of materials used, manufacturing and assembly.




Ergonomics
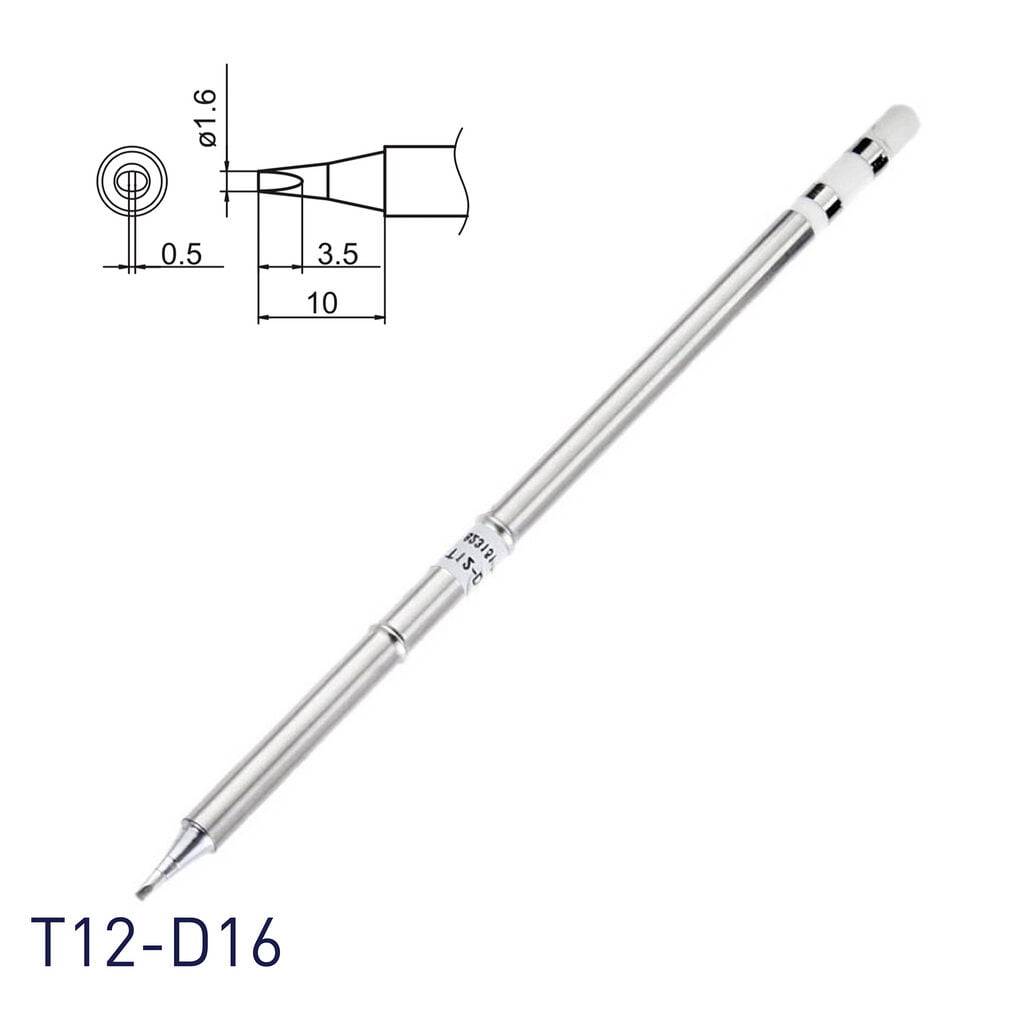
The Noel 90W iron is designed like a Hakko 900M series iron. This means you can use Hakko 900M series soldering bits and heating elements when you want to replace them. Most adjustable soldering irons and bits you can find on the internet will be designed after the Hakko 900M series. That makes it easy to find soldering tips and spare parts for your iron.
[Image of Hakko bits]
Just like the Hakko 900M iron, when it is hot, you will need a plier to remove the nut that is holding the metal cooling jacket in place. You have to carefully remove the hot metal parts and the bit with the help of a plier so that you don’t drop them on your legs, or other precious items. We recommend holding the iron tip pointing upwards when removing the hot metal parts. So if you are careful enough, swapping the soldering bit is easy on the Noel 90W iron.
The diameter around the rubber grip is a little larger than the generic Chinese-made Hakko-compatible irons. But the grip provides an excellent feel on the hand. Since this iron is Hakko compatible, you will have no trouble finding a compatible soldering iron stand or reusing the one you already have.
Operation
The iron has a two-pin EU/Indian plug. There is no Earth pin since the iron’s metal parts are not in contact with anything else conductive. This also means that the iron is not ESD-Safe. When you plug the iron into the mains supply, it will remain in the OFF state. You have to manually turn it ON by pressing and holding the power button for around 2 seconds. The LCD with a blue backlight will turn on and the iron will start heating up. The temperature will rise to whatever value you have last used. This is a useful feature that saves you time from having to set the temperature every time you power cycle the product.
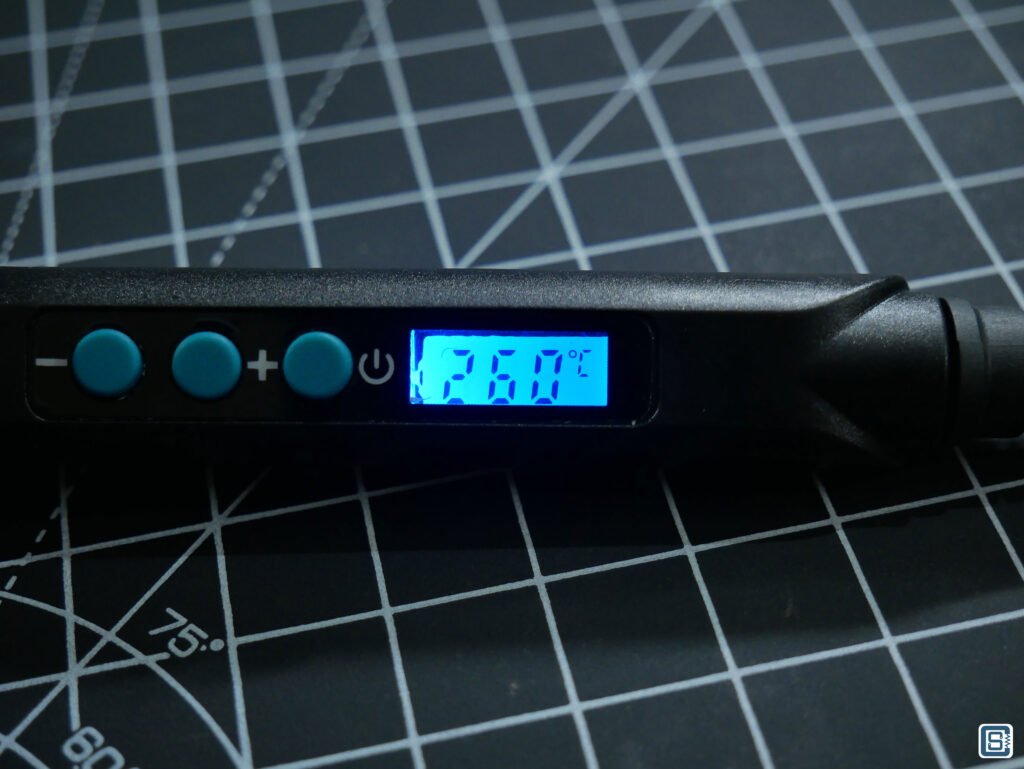
Adjusting the temperature is straightforward. The iron has a claimed temperature range of 200 to 500°C. There are two buttons for temperature control. Pressing the + or – button once will increase or decrease the temperature by a multiple of 1°C or 1°F. The LCD will blink 5 times indicating that it is switching to the new value. If you press the buttons again within that blink period, you can continuously change the value without having to wait for the iron to reach that temperature. Pressing and holding the temperature control buttons will vary the value on the screen faster for a faster adjustment. Once the blinking is complete, the iron will start to change its temperature and save the new value to memory. If the newly set temperature is higher than the previous value, the value will increase to the new one within a few seconds. If the new value was lower, the iron will slowly start to cool off naturally.
When the iron is ON, pressing the power button once will switch between Celcius (°C) and Fahrenheit (°F) units. The temperature shown on the display won’t be always accurate. If you think that’s the case, you can calibrate the iron by pressing and holding both + and – buttons together for 2 seconds. The LCD will show CAL at this time and you can adjust the temperature value to whatever temperature you are measuring with the help of the + and – buttons. The LCD will blink multiple times to confirm the new value and will exit the calibration process after saving the new value. You need an accurate temperature measuring device such as a multimeter with temperature measurement. You can also use PTC or NTC temperature sensors that can measure temperatures in the range of 300°C.


Sometimes when you plug in the iron, F-E will be shown. We understood from experience that this is due to improper contact between the AC plug and socket. The F-E indicator is not mentioned in the user manual. Instead, we can find an H-E indicator which stands for a heating problem. The manual suggests replacing the heating element when H-E is shown. Also, the display will show 0-E when the heating element is detached.

Performance
By performance, we mean the real-life performance of the iron than what is mentioned in the specs sheet. The iron reaches the usable temperature within 20 to 30 seconds. But the way the display shows the temperature rise is a bit robotic, we say. The value increases at a steady rate as if somebody was counting the number up. If the iron was directly measuring the temperature, we would expect the temperature rise to be at a more realistic rate, which is the case with more professional irons and soldering stations. Also, if we draw away too much heat from the tip, the temperature shown should also vary a little depending on how good is the iron in maintaining the temperature. But that is not the case with Noel 90W digital iron.
The reason could be how this particular iron measures the temperature. The iron does not measure the temperature of the tip. Instead, it might be measuring the temperature inside the heating element. We can only confirm this by opening the iron and taking a look inside. We will do that in the next step.
The temperature you set and the actual temperature can be off about 20 to 50°C even after calibration. This is especially true if your environment is such that the tip loses heat very easily. We had a ceiling fan operating in our room and when it was active, the tip temperature was 50°C less than what showed on the display. So we tried turning off the fan and calibrating the iron. After calibration, the actual and displayed temperatures were within ±5°C range. We tested the temperature with a multimeter that supports temperature measurement with a Thermocouple probe. What all this means is that the Noel 90W iron can not accurately measure and keep track of the changes in tip temperature. This can be a real problem. More expensive irons can keep the temperature constant even in demanding situations.
The practical workaround is to set the temperature higher than what you need. For example, in our case, we set the iron temperature to 350°C when we wanted 300°C. That trick actually worked.
Teardown
Now we are going to take a look inside. It is surprisingly easy to remove the PCB from the enclosure. First, remove the top section by unscrewing it. Then use a nose plier to grab onto the edge of the PCB and pull it out. If you pull on the heating element, you can remove it from the two-pin socket on the PCB, which is better than having to solder wires. The power cable is firmly restrained using a metal clip. So if you pull the cable accidentally it will be able to withstand some force. Line and Neutral lines are swappable and the board will use one of the lines as GND for the 5V supply.

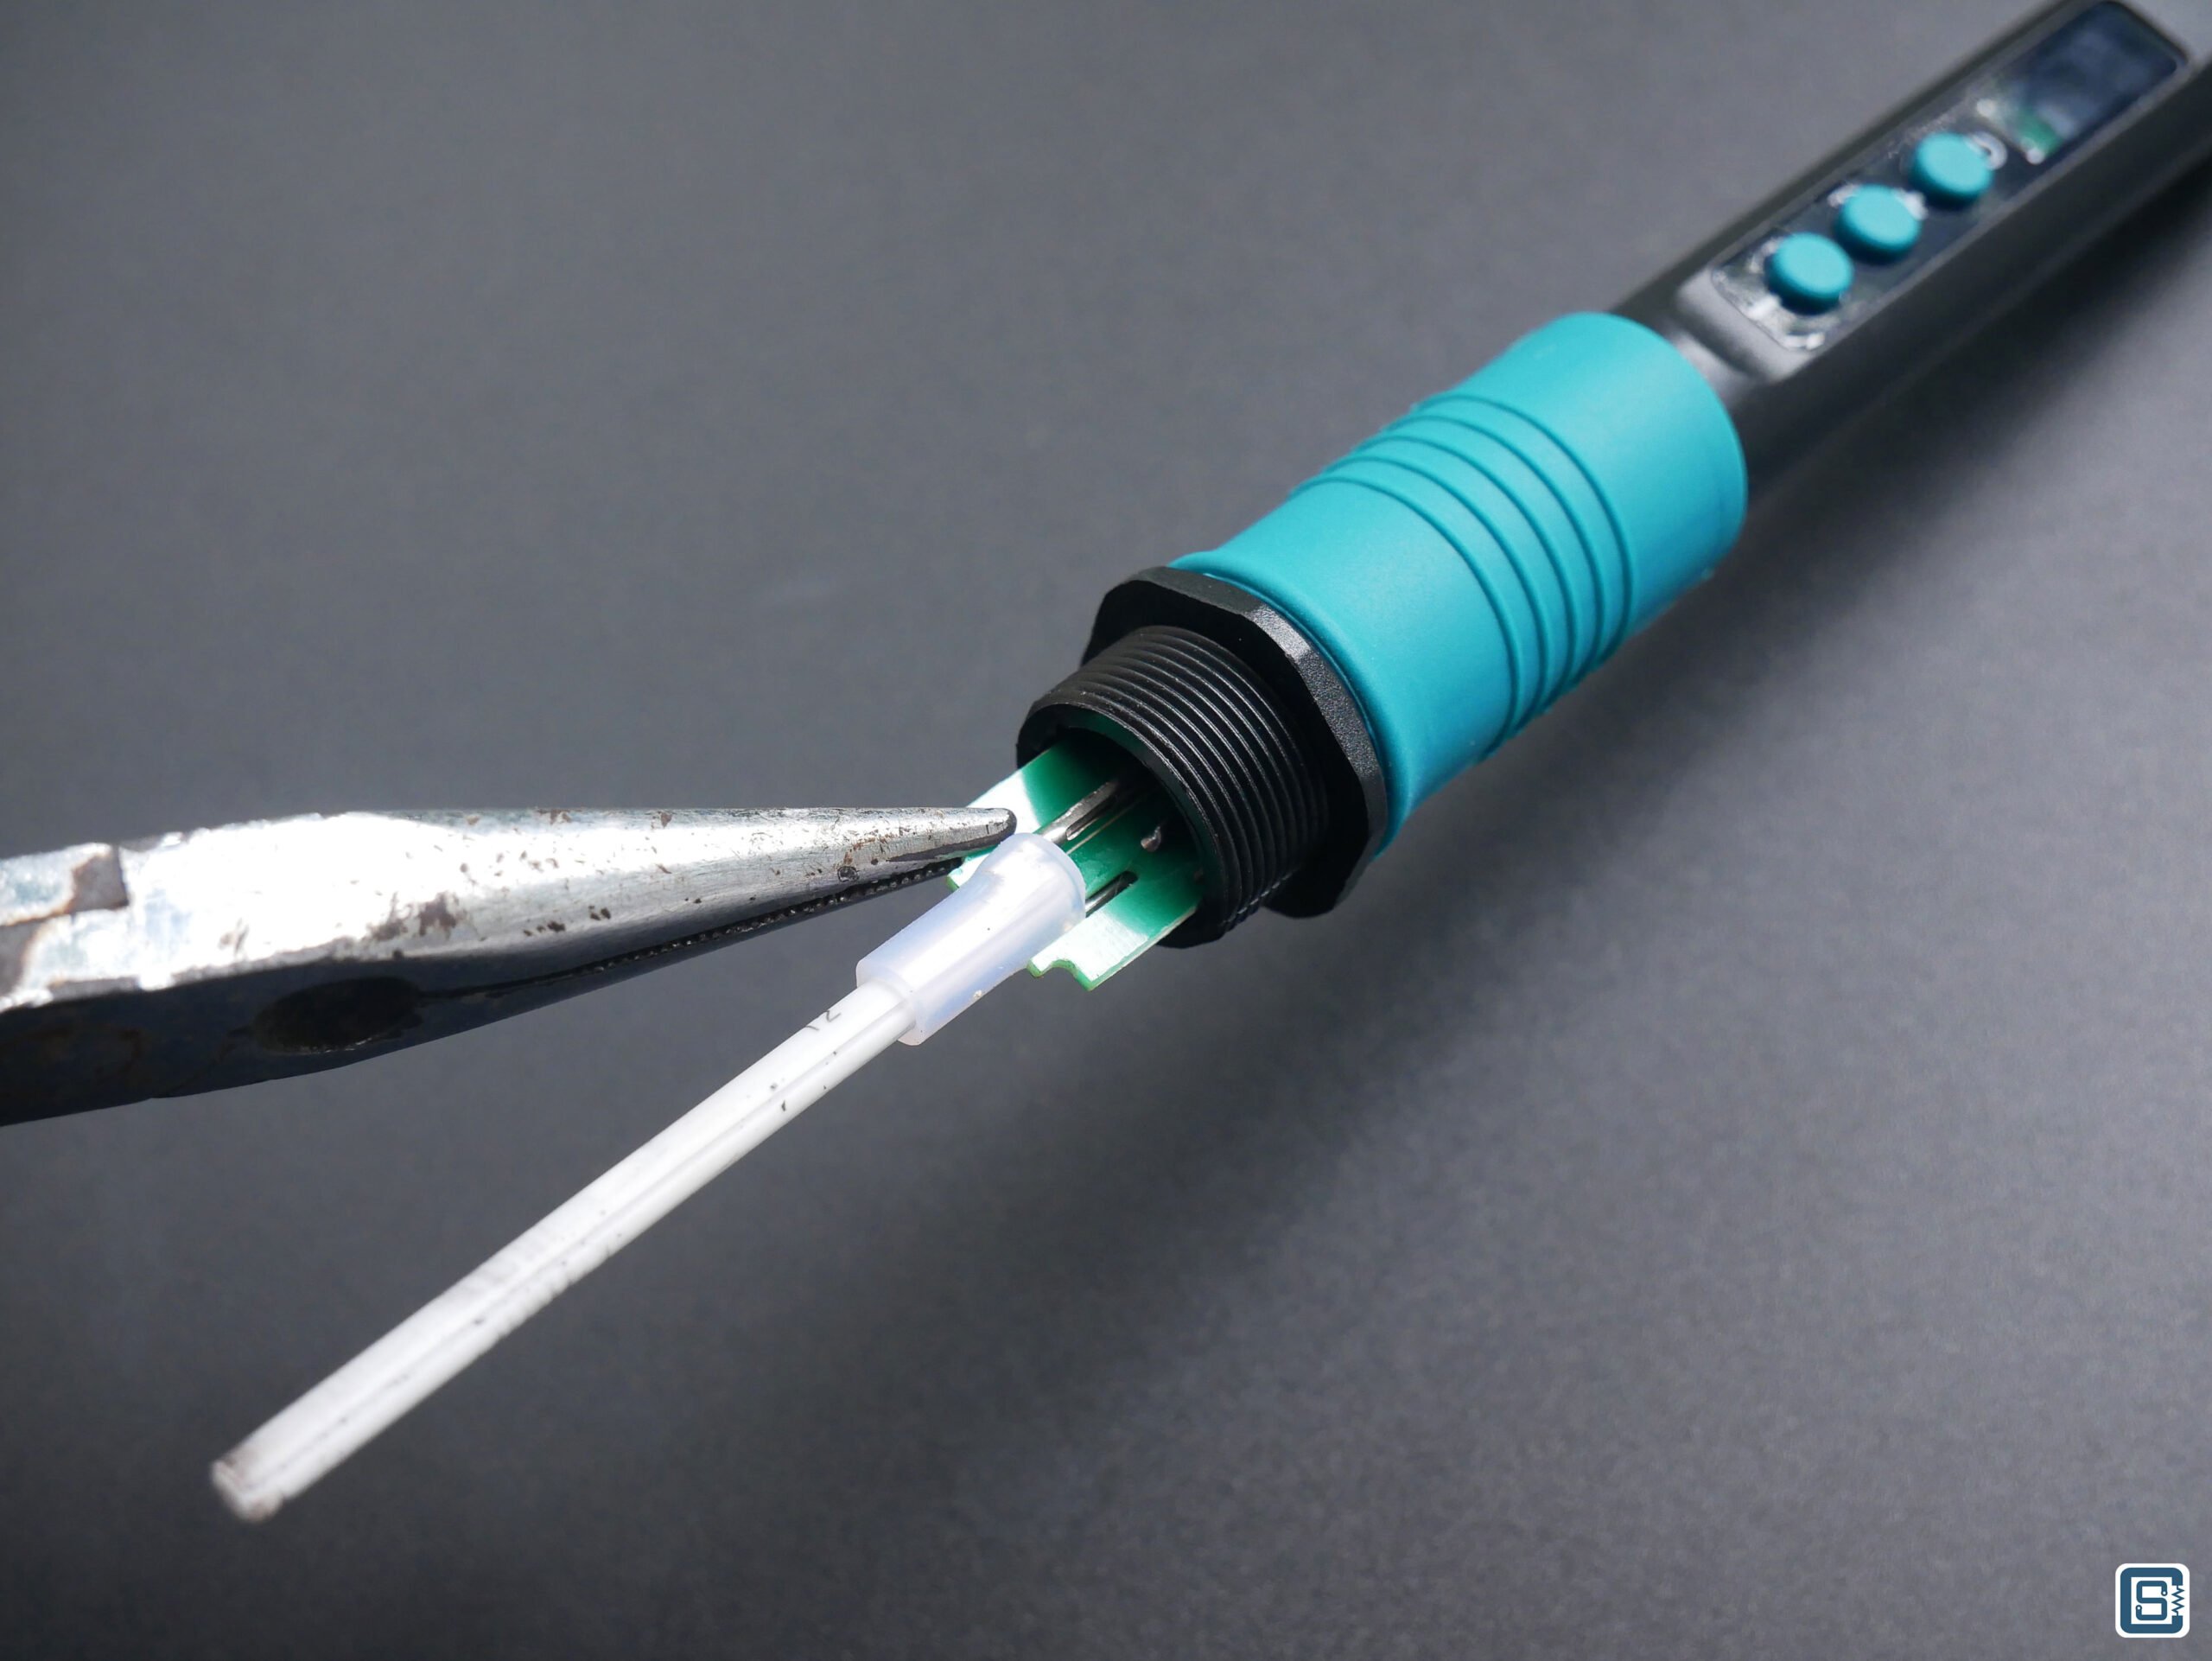
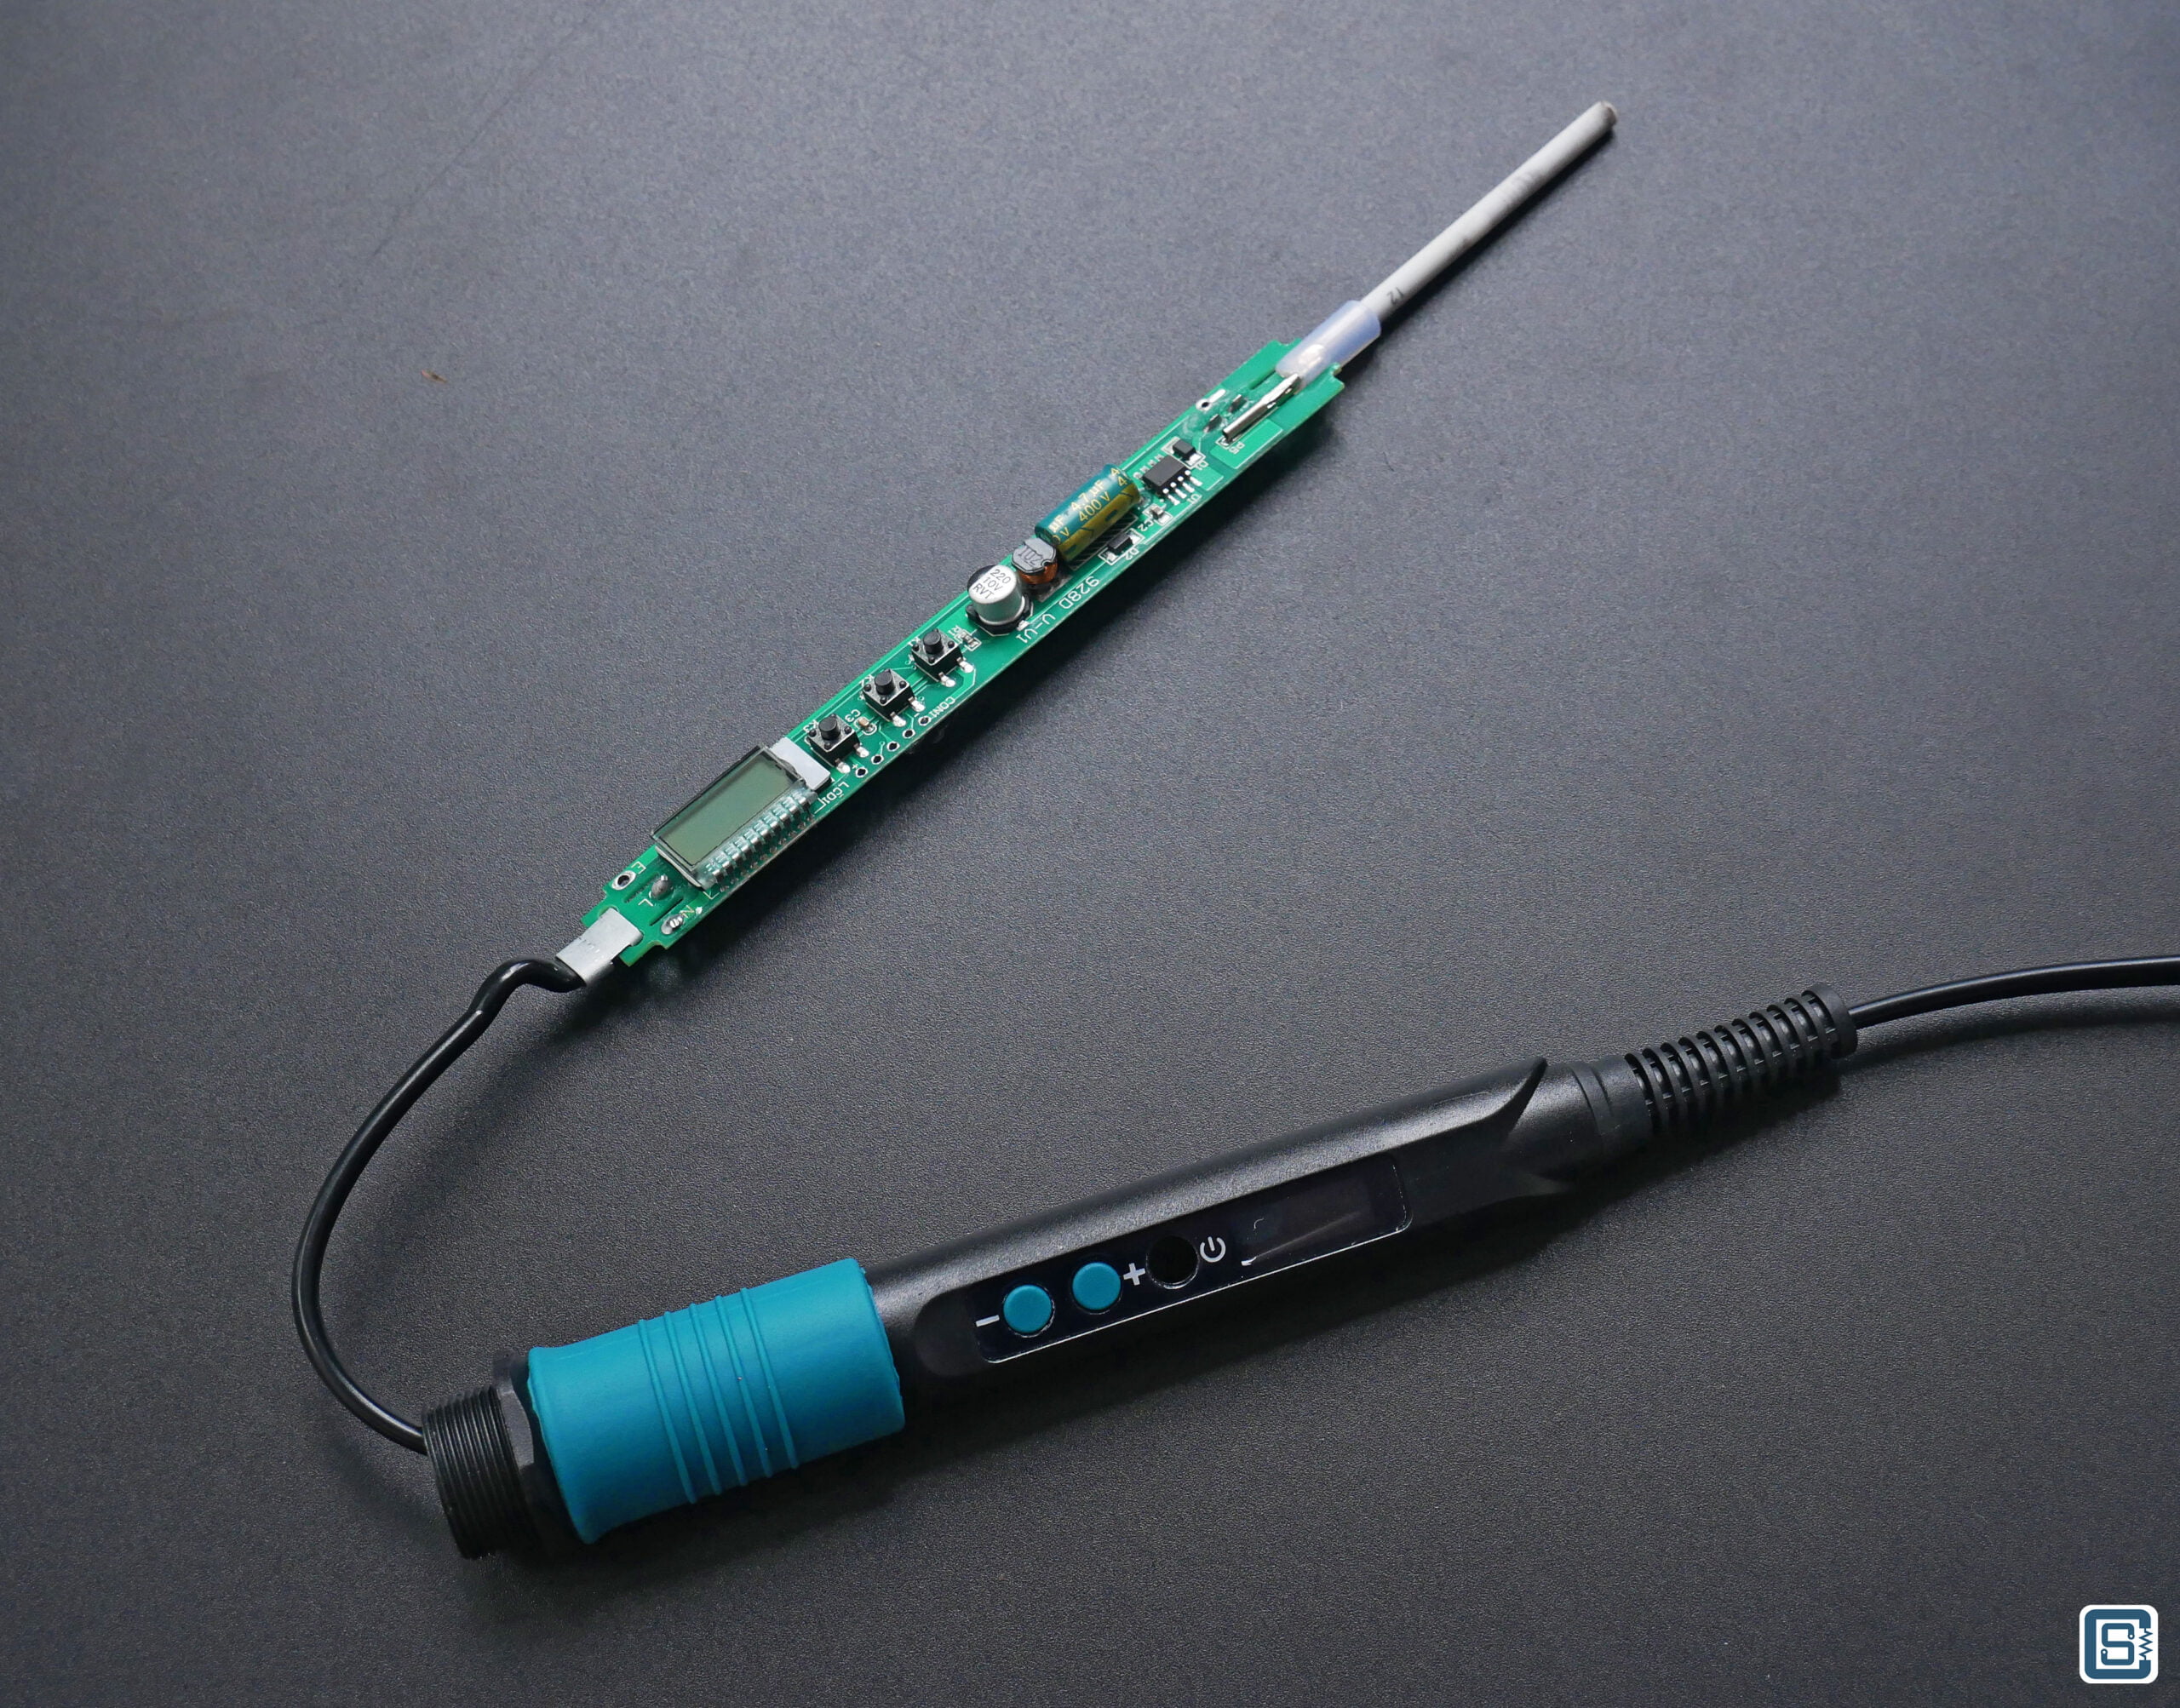
The PCB has components on both sides. On one side are the LCD, push buttons, and the power supply. The power supply is based on the L2178 non-isolated buck-boost converter that supports an input voltage range of 84-265 VAC. This produces 5V for the microcontroller and LCD. Since the mains supply lines are swappable, either L or N could become the GND for this supply. So if you are going to measure the supply output with a non-isolated oscilloscope, that might pose a danger. Meanwhile measuring the output voltage with a battery-powered digital multimeter (DMM) won’t cause an issue since it is already isolated. We measured around 4.96V at the output of the buck-boost converter.
The heater driver is based on a BT136S 600V, 4A Triac. The microcontroller used is MC51F003A4A0Y from SinoMCU which is an 8051-based processor with an integrated 32MHz oscillator. The microcontroller drives the Triac through PWM/PPM to vary the power output by the heater. The microcontroller pin 2 is connected to the Triac gate through a capacitor.

You can see the Earth pad near the heating element pads. But the track or pads are not used. ESD Safe irons will have their tips connected to Earth and will maintain less than 2Ω so that any static charges develop on the tips will be always shorted to Earth. Since the Noel 90W iron does not make use of the Earth pin, it is not safe for ESD-sensitive applications.

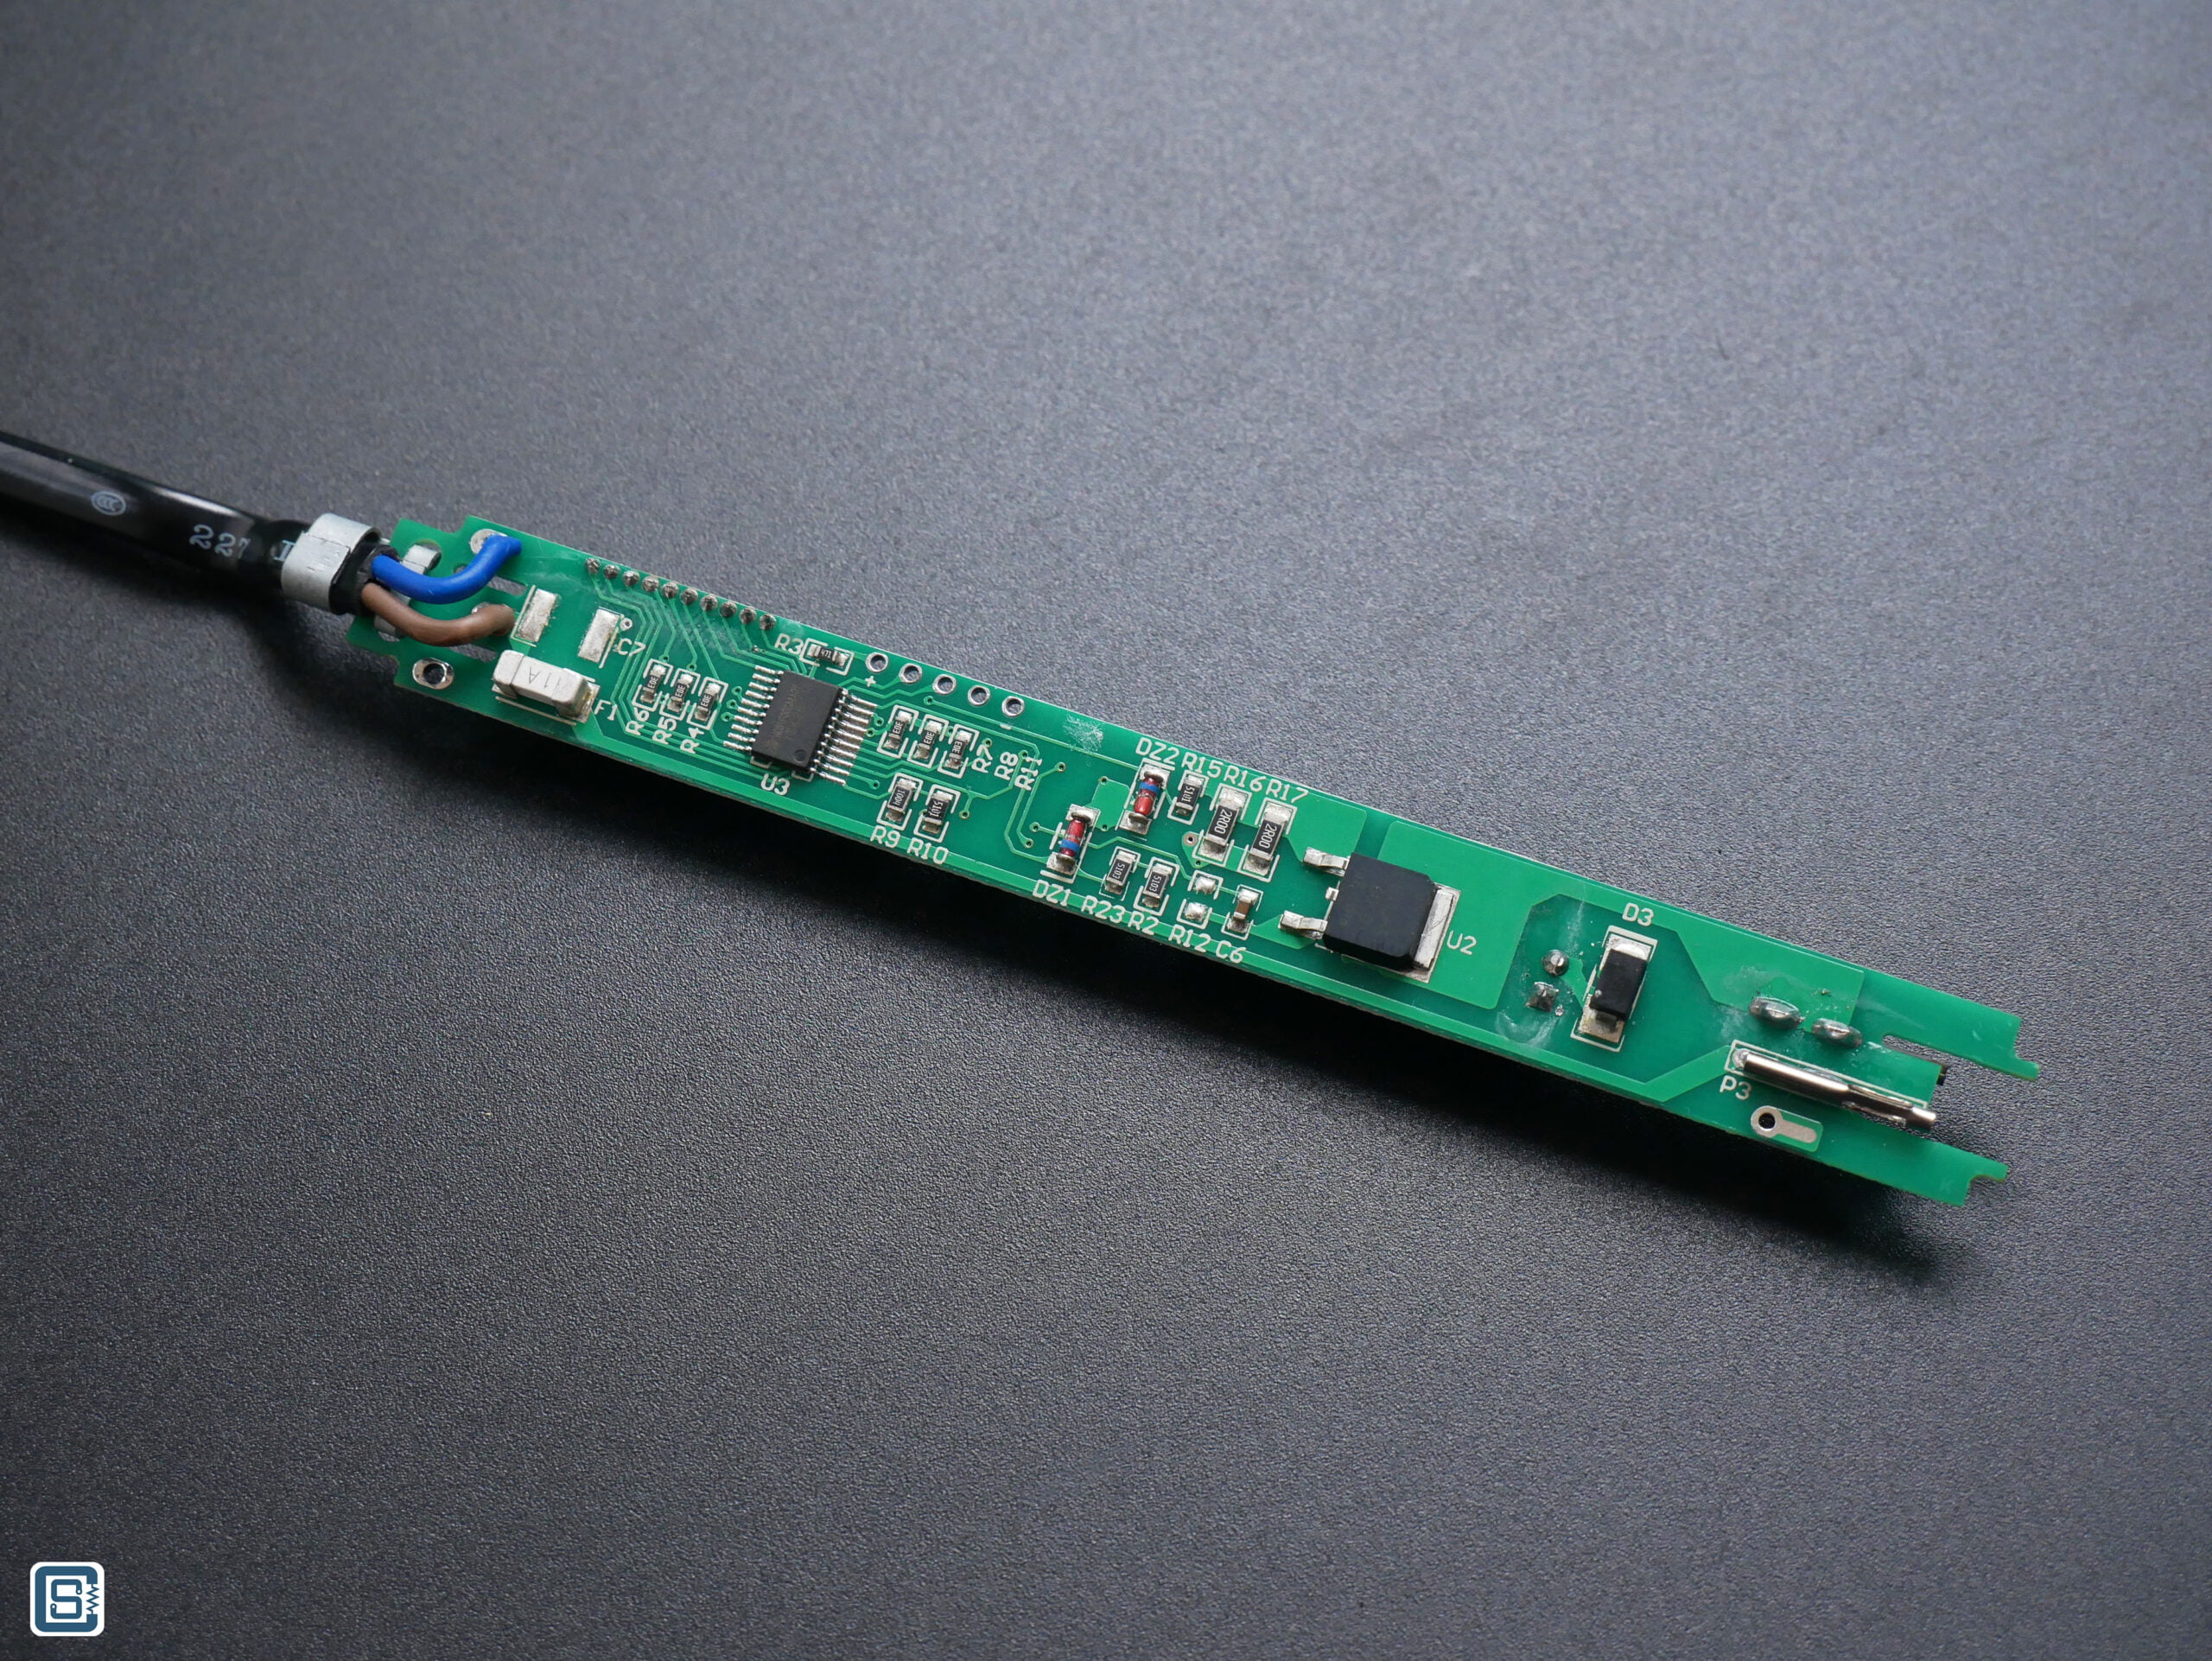


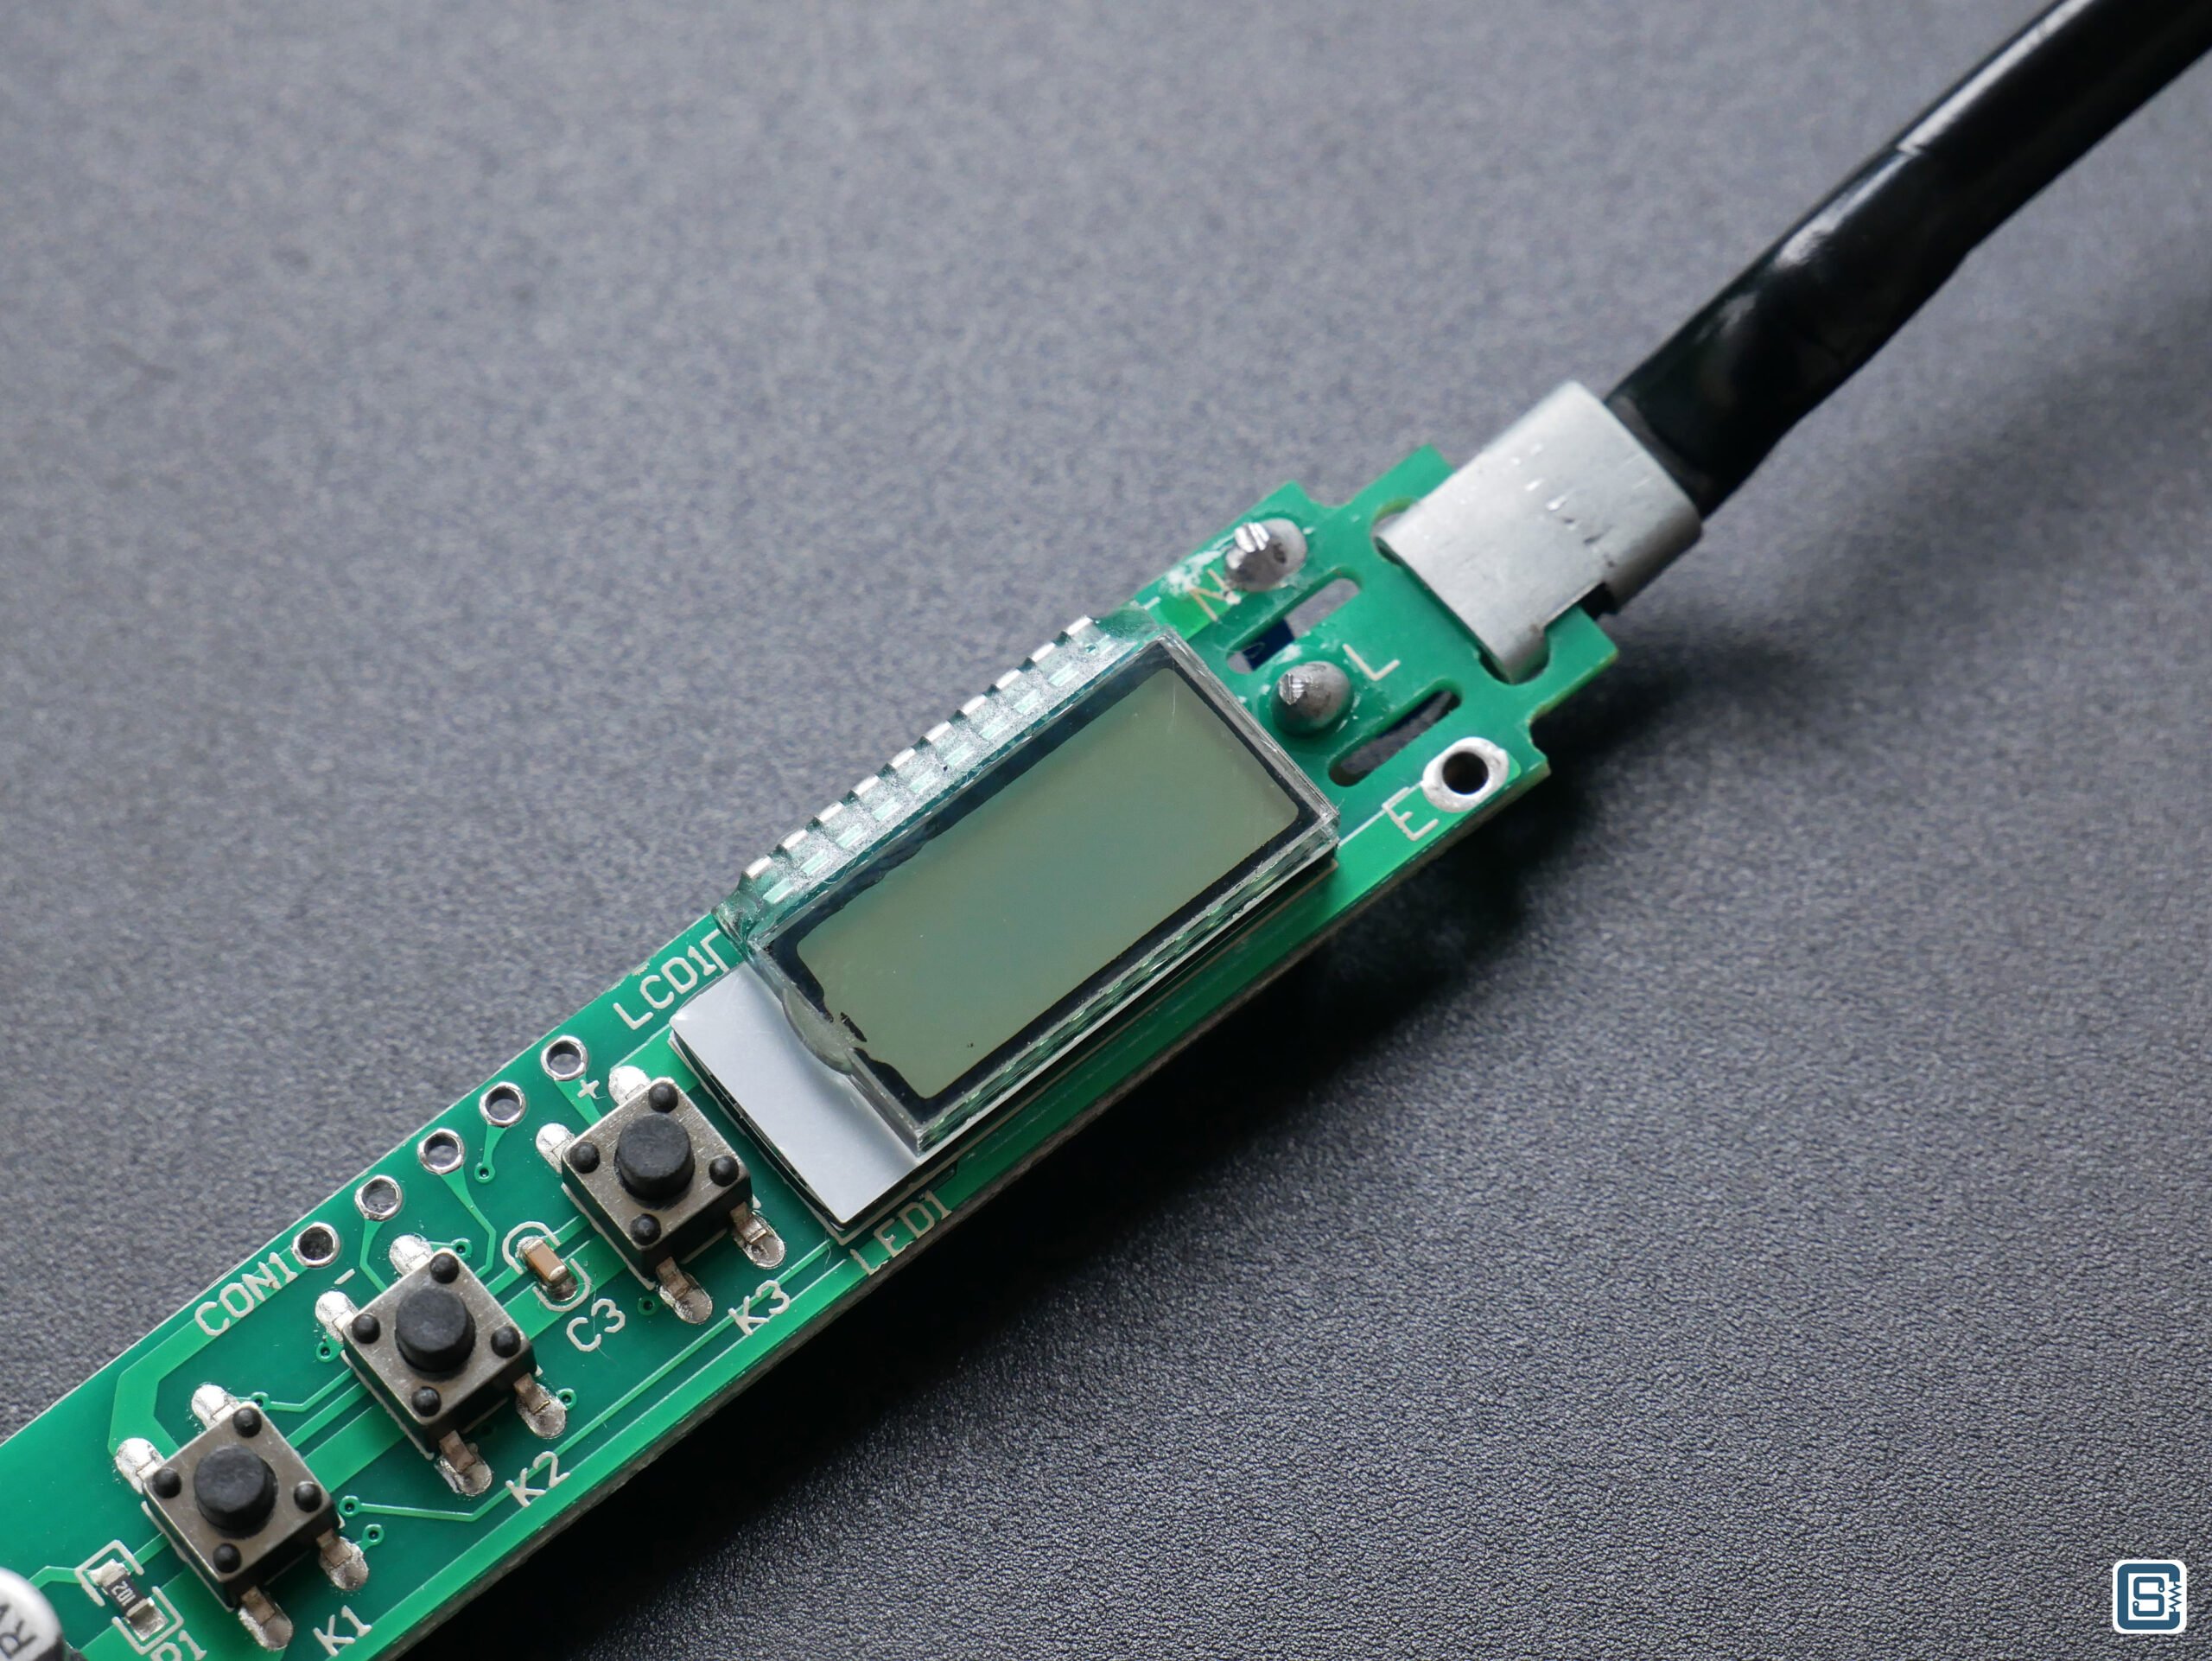
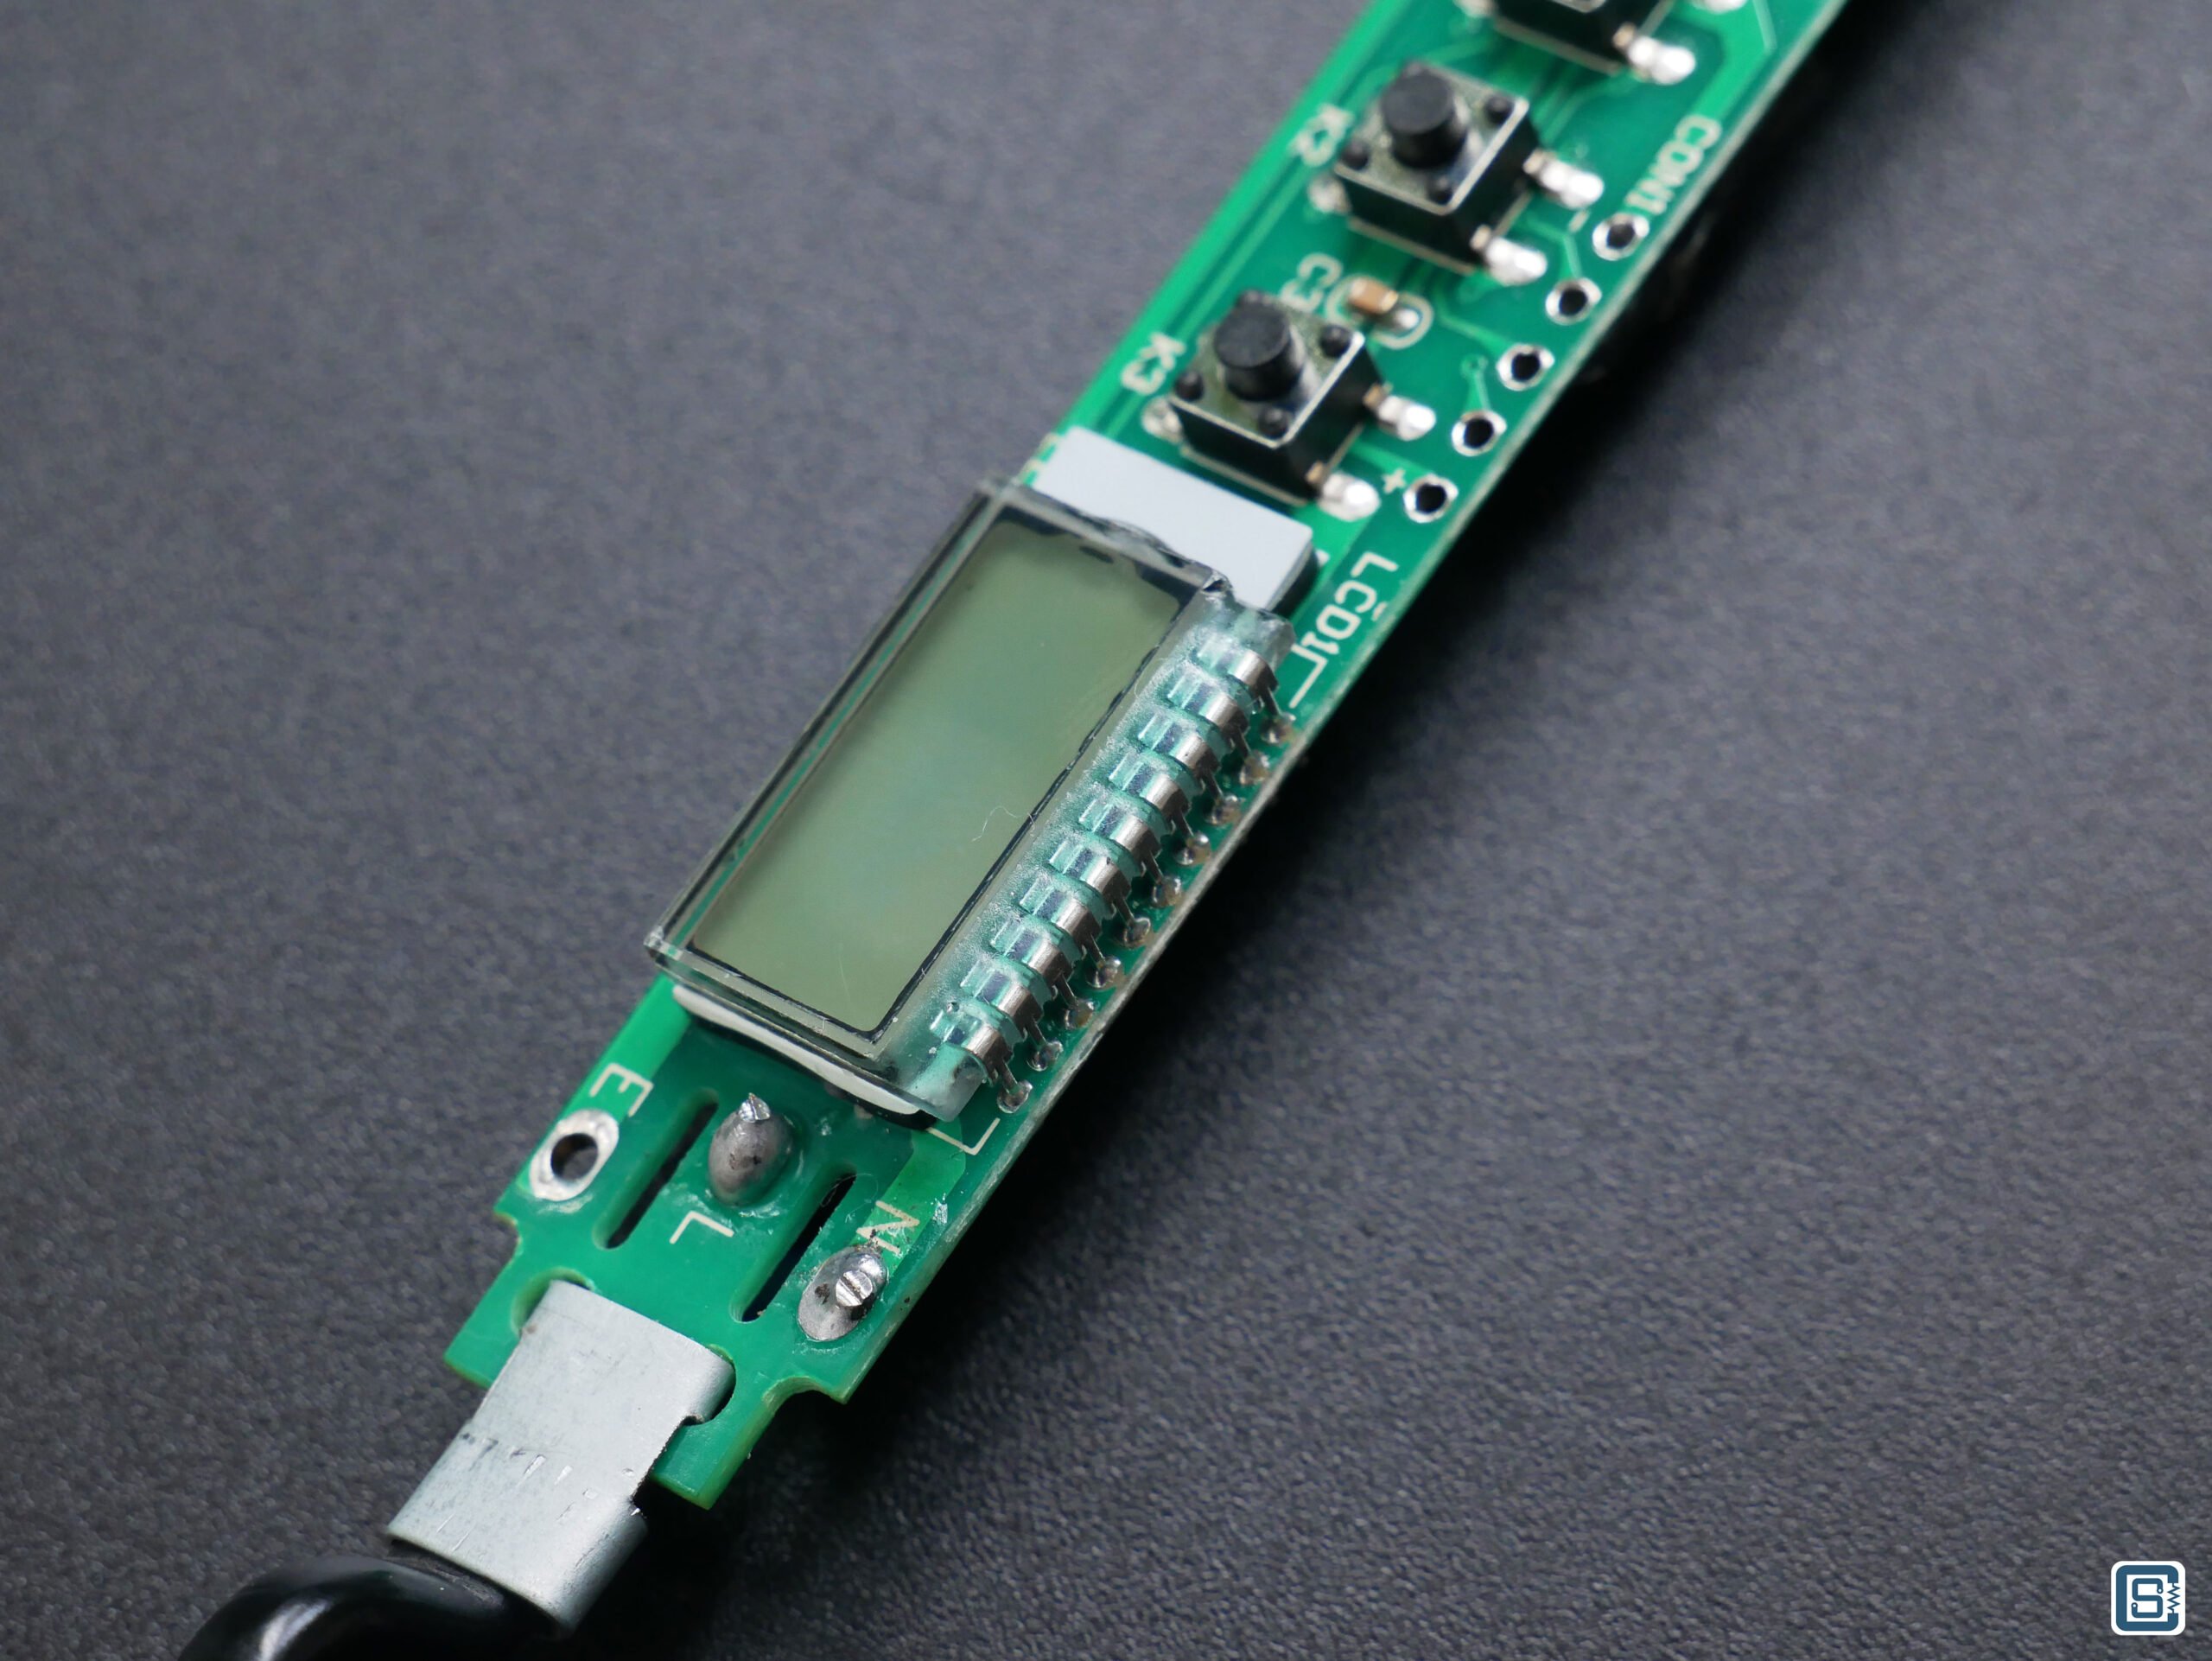


There are 5 pins broken out on the PCB. Two of them are 5V supply lines marked as – and +. The others are ICSP lines for flashing the firmware.
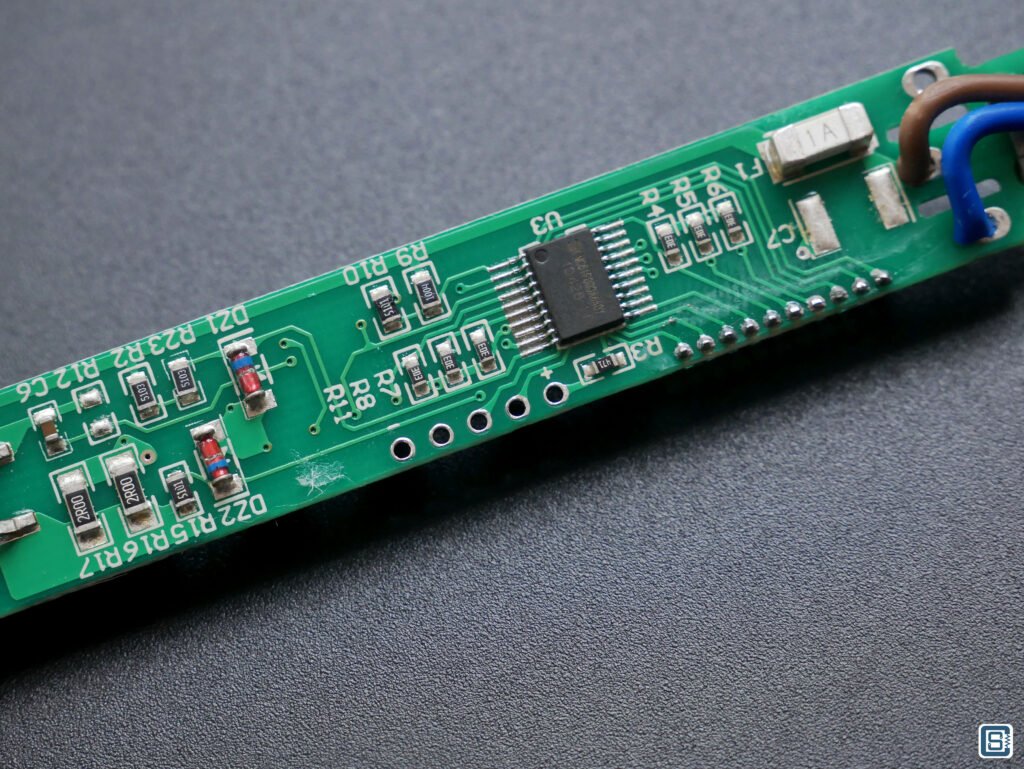
Now the question is where is the temperature sensor? Original Hakko 900M series or compatible irons have a heating element with four wires coming out of it. Two wires are for the heater coil and the other two are temperature sensor wires. The temperature sensor is usually a Thermocouple that can measure high temperatures continuously. But in the Noel 90W iron, we don’t see a second set of wires, bringing the question of where the temperature sensor is. Now, not all heating elements or tips that have integrated temperature sensors come with four wires. Some, like the direct-drive soldering tips used for TS100 (Miniware) or T12/T15 (Hakko) tips, only have two terminals. This is because the same two terminals are used to supply power to the heating element as well as to read the tip temperature. Could this be the case with Noel 90W iron?

Let’s examine the PCB closely. As you can see from the images above, one of the pins of the heater is connected directly to Line via a 1A fuse. The next pin is connected to T2 of the BT136S Triac and it doesn’t go anywhere else. The gate of the Triac is connected to one of the microcontroller pins via a capacitor. This capacitor will send pulses of current to the Triac to turn it on.
So how is the microcontroller measuring the temperature? The answer is it doesn’t. The Noel 90W Digital Temperature Controlled iron can not measure the temperature of the heating element nor can maintain a constant temperature when we are using it. What the iron actually does is it simply gives you a readout display for whatever temperature you want and then allows you to “calibrate” (more like equalize) the displayed value to that of the tip temperature you are getting.
The Noel iron can only deliver a variable power to the heater via a digitally-controlled Triac. That is not much different from an analog variable temperature soldering iron which you can get for 1/3 of the price. Below is a typical schematic of generic Hakko-compatible adjustable power irons. They have a potentiometer to adjust the heat output through a small Triac. There is no temperature sensing. Though the Noel iron does measure the current through the heater with the help of a 1Ω resistor (two 2R00 resistors in parallel). We also measured the heater coil resistance to be around 136Ω.

The Noel 90W iron simply has a microcontroller driver in place of a potentiometer adjustment. So the claims made by Noel on their product page are deceiving or confusing. The manufacturer says,
Constant Temperature – 200’C(392F) – 500’C(824F)
Digital Temperature Controlled Soldering iron 90W launched by Noel is a Soldering iron with temperature controlling chip. This chip modulates the temperature according to the need of the user. This can be variable and the temperature can be kept anywhere between 200’c to 500’c.
We tried setting the temperature to 360°C and pressed the whole metal section of the iron against the wet sponge and the temperature display did not even glitch.

Verdict
So finally to the verdict. But let’s first list the pros and cons.
Pros
- Good build quality.
- Good ergonomics.
- LED-backlit LCD display.
- Push-button for power control.
- Temperature recall after a power cycle.
- Manual temperature calibration function.
- Error or malfunction indicators.
- Compatibility with Hakko soldering tips and heating elements.
Cons
- Does not measure temperature.
- Does not maintain temperature accurately
- Not ESD safe (no earthing of the iron tip).
- No spare heating element is sold on the seller’s website.
Since the Noel 90W digital iron can not measure or maintain the temperature the user wants, we can not classify this product as a Digital Temperature Controlled iron. Instead, a more apt name is Digital Variable Power soldering iron. We do not recommend this iron for applications that require constant temperatures and accurate temperature readouts. Otherwise, if you need a good quality general purpose soldering iron with an added display and temperature calibration function, you can consider buying it.
Alternatives
There are better alternatives with actual temperature sensing function than the one we have just reviewed. One reason to buy temperature-controlled irons that plug directly into the mains is that they take up less space on your desk. Soldering stations will usually have a bulky station and other parts. So if you’re looking for better a iron, we recommend the following ones. Now, we have not personally tried all of these irons, but if you think you can share your experiences with similar ones with us, we will update this list. We will definitely post our review whenever a new soldering product reaches our hands. Our goal is to help you choose good-quality products.
- SEQURE SQ-A110 110W Digital Display Soldering Iron
- Atten ST-2065/ST-2080 Digital Soldering Irons
- Multicomp PRO MP740063 Soldering Iron
Links
- Noel 90W Digital Soldering Iron
- Hakko FX888D Teardown – iFixit
- ESD and EOS Safety Explained
- What is ESD? – Hakko
- Soldering Irons OLD vs NEW – EEVblog
- Build a soldering iron with Hakko T12 Tip – Hackster.io
Short Link
- Short URL to this page: https://circuitstate.com/noel90wir

Actually you are completely wrong. It does measure the resistance of a heater during zero crossing.
You can confirm this by testing the tip with a thermocouple and power meter.
Power controlled iron will overheat at idle and won’t increase the power when you start using the iron.
This one maintains the set temperature perfectly flat and increases the power to the max when you are soldering heatwicking components.
So it’s temperature controlled. Actually using the heater as a heat sensor is advantageous in faster response to the changes in temperature.
Thanks for your feedback. We hope you have used the iron and was able to test it. When we tested the unit we had, it couldn’t maintain the temperature properly, even after calibrating multiple times with a thermocouple. We did not test with a power meter though. So if the iron can not maintain temperature regardless of how it is measuring the temperature, it can not be considered as good. We also think that measuring the temperature with a dedicated sensor instead of estimating it from the heater coil resistance is still a better way to do it.